To manage your business information, follow these steps:
- Click on your name in the top right corner of the screen.
- Select “Account Settings”. A new menu page will open.
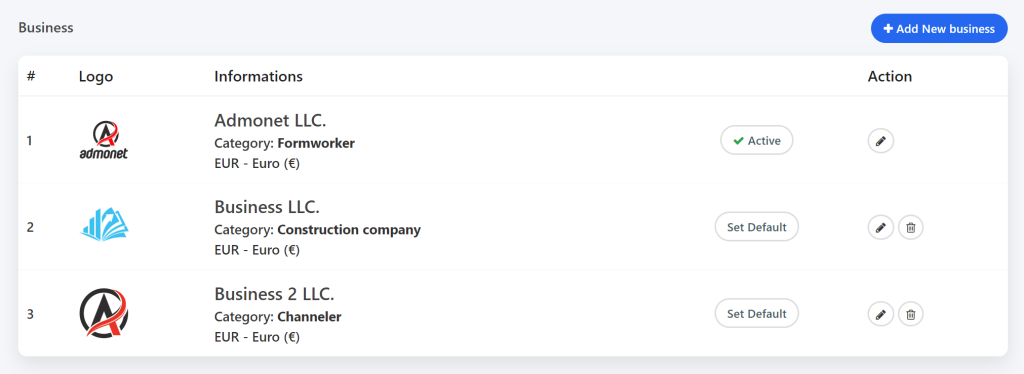
- Click on the “Business” option. Here, you will see the businesses associated with your account.

For quick access (if you are logged into your AdBooks account), click on: https://app.adbooks.co/admin/business.
- If you have one business, only that business will be shown.
- If you have multiple businesses, all will be displayed separately.
Adding or Deleting a Business: On this page, you can add a new business or delete an existing one.

Editing Business Information: Click on the “pencil” icon to the right of your business name to edit information. This will display all the business details you can modify.
Information you can edit:
- Logo: Add your business logo. This logo will appear on all documents, such as invoices and bills.
- Name: Enter or update the registered name of your business.
- Title: This is additional text that will be shown below the business name on documents.
- Business Number: Enter the unique registration number of your business.
- Tax/VAT Number: Enter the unique tax identification number.
- Email: Enter the email address that will appear on documents and be used for sending invoices and proforma invoices to your clients.
- Phone: Add your company’s contact number. This information will appear on all documents.
- Address: Enter the registered address of your business.
- Categories: This option is optional and does not appear on documents.

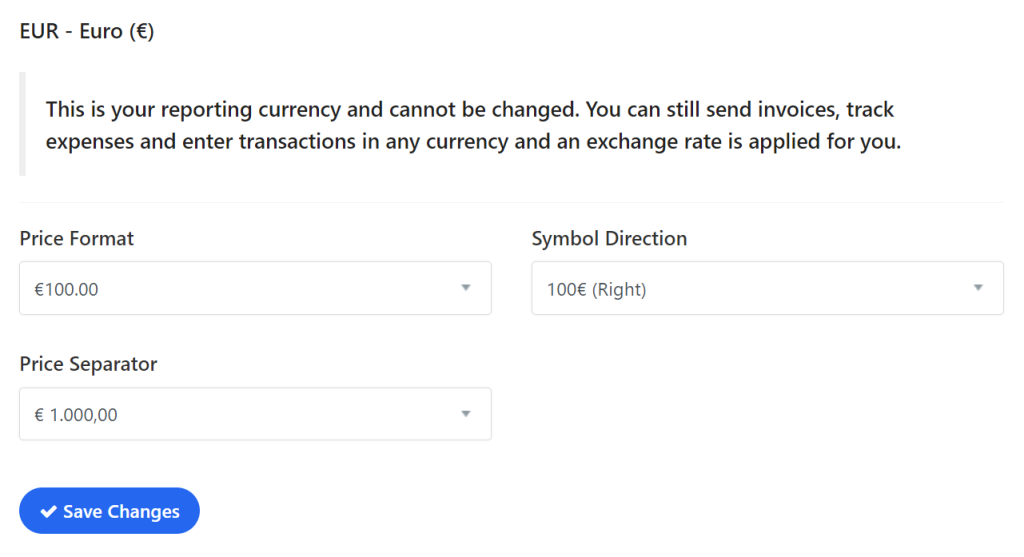
Setting Price Format: #

At the bottom of the form, you can set the price display format, currency position, price separator, and more.
When you finish editing, click on “Save Changes”. Congratulations, you have successfully saved all the changes!
For any additional questions, feel free to contact us via email at info@adbooks.co.
