Skip to content

Use code WELCOME30 to get 30% off your first purchase! Click here and fill in your details to claim the discount. Use code WELCOME30 to get 30% off your first purchase! Click here and fill in your details to claim the discount. Use code WELCOME30 to get 30% off your first purchase! Click here and fill in your details to claim the discount. Use code WELCOME30 to get 30% off your first purchase! Click here and fill in your details to claim the discount. Use code WELCOME30 to get 30% off your first purchase! Click here and fill in your details to claim the discount. Use code WELCOME30 to get 30% off your first purchase! Click here and fill in your details to claim the discount. Use code WELCOME30 to get 30% off your first purchase! Click here and fill in your details to claim the discount. Use code WELCOME30 to get 30% off your first purchase! Click here and fill in your details to claim the discount. Use code WELCOME30 to get 30% off your first purchase! Click here and fill in your details to claim the discount.

  • User Account
  • Business
  • Features
  • Earn
  • Login
Menu
  • User Account
  • Business
  • Features
  • Earn
  • Login
  • Languages
    • EN Help
    • DE Hilfe
    • BA Pomoć
    • FR Aide
    • Sl Pomoč
Menu
  • Languages
    • EN Help
    • DE Hilfe
    • BA Pomoć
    • FR Aide
    • Sl Pomoč
Get Started

User Account

5
  • How to register
  • General settings
  • How to change your password
  • How to add an additional user account for employees
  • How to edit permissions for accounts created for employees

Business Management

4
  • How to customize the appearance of invoices/estimates
  • How to set the tax rate
  • How to set up online payment
  • How to manage your business

App Features

8
  • Dashboard
  • Creating and managing invoices
  • Creating and managing estimates
  • Managing accounts, vendors, expenses, and products
  • Managing customers/clients
  • How to create a recurring invoice
  • Managing business reports
  • Managing HR (Human Resources)

Subscription Management

1
  • How to manage subscriptions?

Earn with us

1
  • How to earn with us
View Categories
  • Home page
  • Knowledge Base
  • App Features
  • Creating and managing estimates

Creating and managing estimates

3 minutes to read

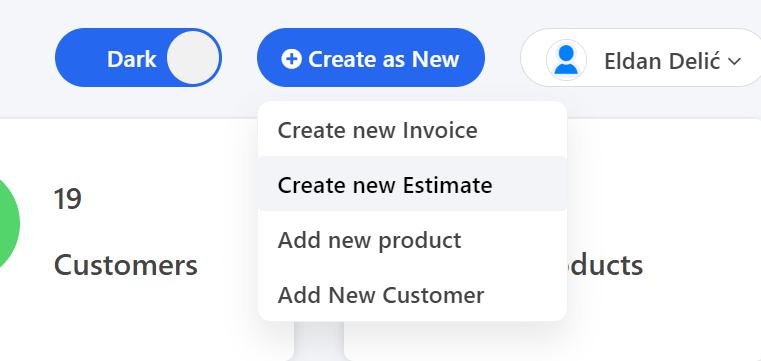
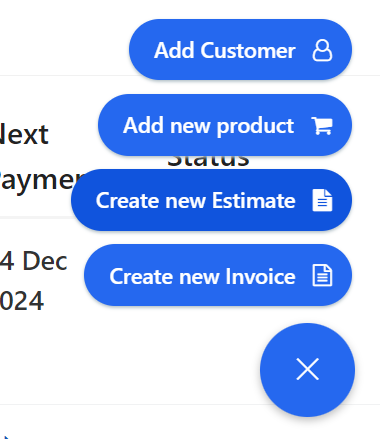
To manage estimates, you can click on the “Create” button in the top right corner or on the plus sign in the bottom right corner, then select “Create Estimate”.

After clicking on “Create Estimate”, a form will appear where you can enter all the necessary details for the estimate.

At the beginning, you can edit the Estimate field or the text below it.

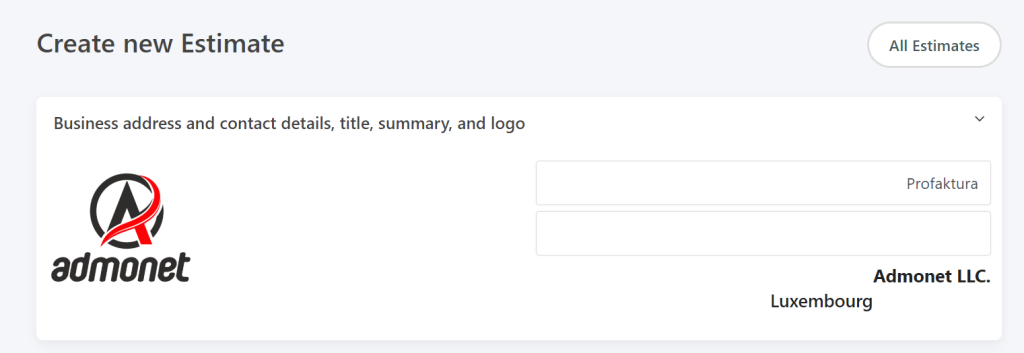
Business address, contact details, title, summary, and logo are edited on a separate page in the business settings.

You can find more information about this here.

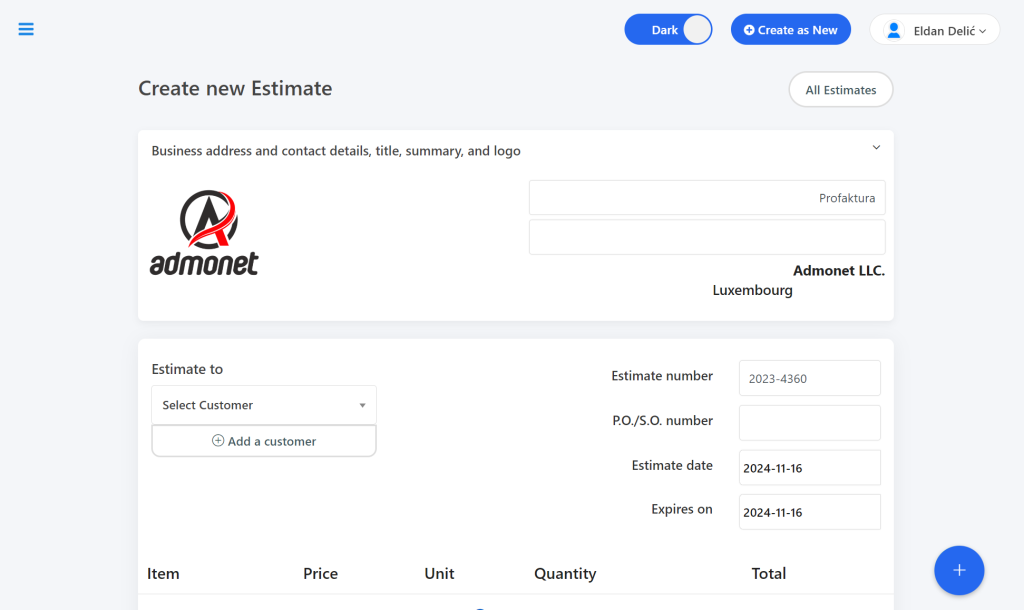
Estimate Recipient – here, you select a client from your database or add a new one by clicking “Add Customer”.

Estimate Number – you can enter the number of your choice. For example, if you set the number to 1000, the next one will be 1001.

P.O./S.O. Number – enter the terminal number or similar, if necessary.

Estimate Date – select the creation date and the expiry date of the estimate.

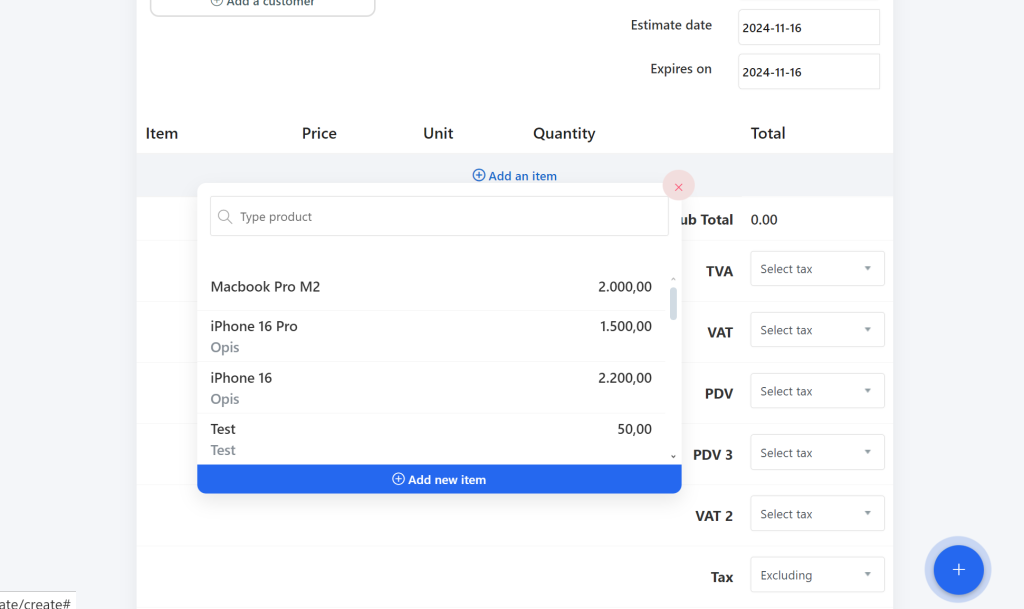
Adding Item/Product – click on “Add Item” and select from the product database or add a new one. Enter the name, description, price, and quantity. The unit of measurement can be selected as needed (e.g., for digital products, it’s not mandatory).

Select the VAT/TVA/Tax rate and decide whether VAT is included (Including) or excluded (Excluding).

If you wish to edit the VAT/TVA/Tax rate, you can do so in a separate section of the app.

You can find more information about this by clicking here.

Discount – optionally, you can add a discount in percentage.

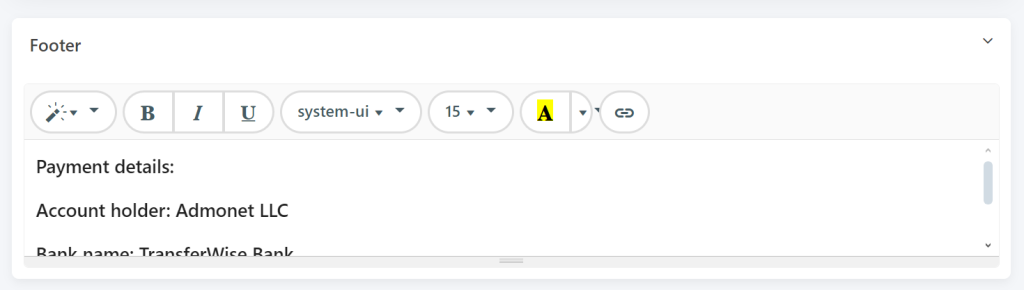
Estimate Footer – here, you can enter payment details, collaboration information, space for a signature, etc.

If everything looks good, click “Save” to publish the estimate.

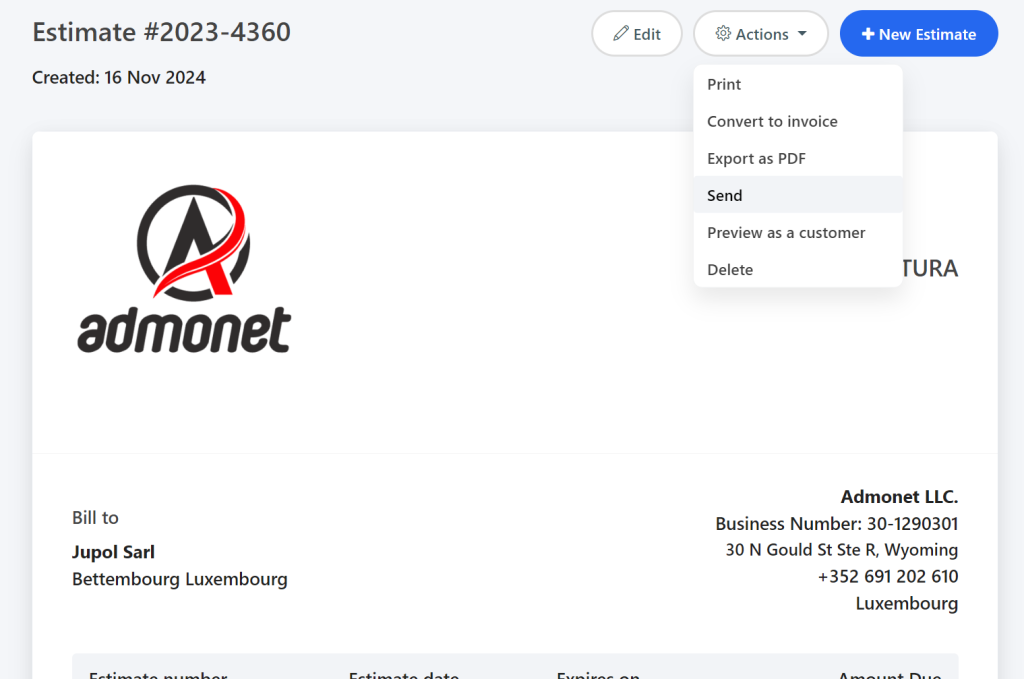
If you want to print the estimate, right-click on “Actions” and then click “Print”.

If you want to convert the estimate to an invoice, right-click on “Actions” and then click “Convert to Invoice”.

If you want to export the estimate as a PDF, right-click on “Actions” and then click “Export as PDF”.

If you want to send the estimate via email, right-click on “Actions” and then click “Send”.

If you want to preview the estimate as a customer, right-click on “Actions” and then click “View as Customer”.

If you want to delete the estimate, right-click on “Actions” and then click “Delete”.

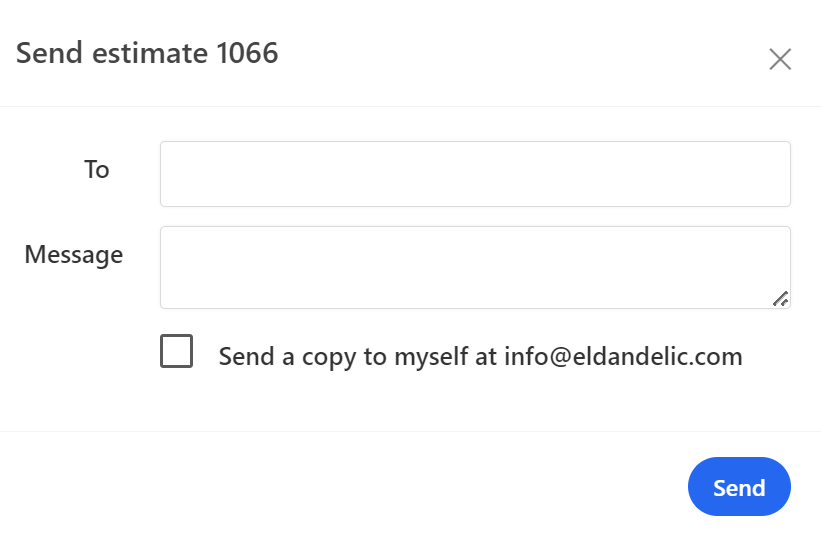
Estimate To – enter the recipient’s address; if the client’s email is already entered, it will appear automatically.

Subject – enter the subject of the email.
Message – enter the message for the email.

The “Send a copy to myself” option allows you to receive a copy of the email.

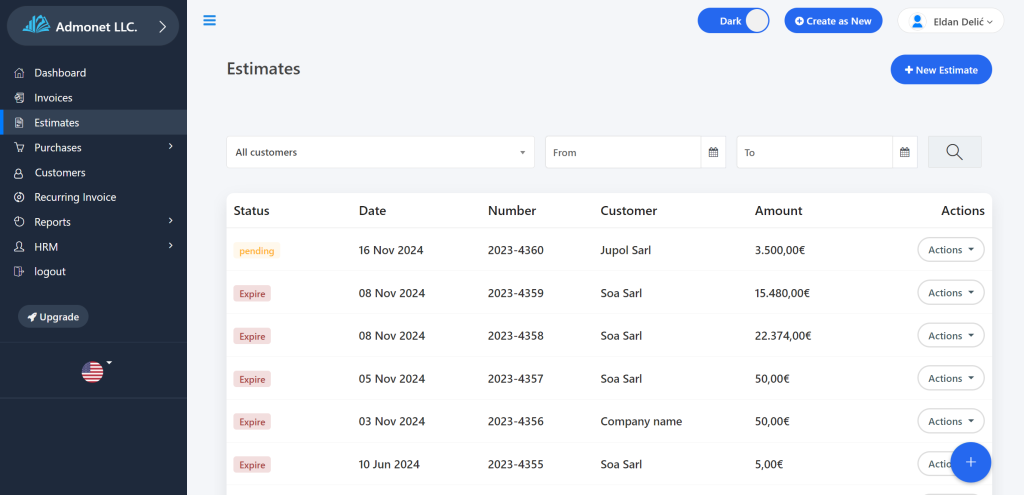
On the main Estimates page, you can view, create, and manage estimates. They can be filtered by customer and date.

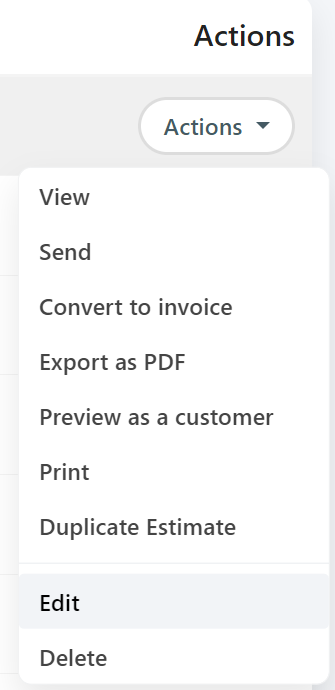
On the right, below “Actions”, by clicking on “More”, you can:

  • View the estimate
  • Send it via email
  • Print the estimate invoice
  • Convert it to a recurring estimate invoice
  • Export it as a PDF
  • View it as a customer
  • Get a sharing link
  • Edit the estimate
  • Delete the estimate

This is a brief overview of creating, editing, tracking, and sending estimates.

Video tutorial:


For any additional questions, feel free to contact us via email at info@adbooks.co.

Updated on November 16, 2024
Creating and managing invoicesManaging accounts, vendors, expenses, and products

Start your free trial today!

Don’t wait! Start invoicing in just a few minutes and optimize your business.

Try for free
Facebook-f Instagram Youtube Jki-open-book-light
Company
  • Prices
  • About Us
  • My AdBooks Account
  • Blog
  • Knowledge Base
Legal Notices
  • Impressum
  • Terms and Conditions
  • Privacy Policy
  • Contact Us
Languages
  • English
  • Deutsch
  • Bosanski
  • Français
  • Slovenščina
Knowledge Base
  • EN Help
  • DE Hilfe
  • BA Pomoć
  • FR Aide
  • Sl Pomoč
AdBooks Knowledge Base

AdBooks Knowledge Base is your source for all information about our application. Find guides, tutorials, and answers to frequently asked questions in 5 languages: English, German, Bosnian, French, and Slovenian. The knowledge base is here to help you make the most of AdBooks’ features and improve your business.

© AdBooks. All rights reserved.