Skip to content

Use code WELCOME30 to get 30% off your first purchase! Click here and fill in your details to claim the discount. Use code WELCOME30 to get 30% off your first purchase! Click here and fill in your details to claim the discount. Use code WELCOME30 to get 30% off your first purchase! Click here and fill in your details to claim the discount. Use code WELCOME30 to get 30% off your first purchase! Click here and fill in your details to claim the discount. Use code WELCOME30 to get 30% off your first purchase! Click here and fill in your details to claim the discount. Use code WELCOME30 to get 30% off your first purchase! Click here and fill in your details to claim the discount. Use code WELCOME30 to get 30% off your first purchase! Click here and fill in your details to claim the discount. Use code WELCOME30 to get 30% off your first purchase! Click here and fill in your details to claim the discount. Use code WELCOME30 to get 30% off your first purchase! Click here and fill in your details to claim the discount.

  • User Account
  • Business
  • Features
  • Earn
  • Login
Menu
  • User Account
  • Business
  • Features
  • Earn
  • Login
  • Languages
    • EN Help
    • DE Hilfe
    • BA Pomoć
    • FR Aide
    • Sl Pomoč
Menu
  • Languages
    • EN Help
    • DE Hilfe
    • BA Pomoć
    • FR Aide
    • Sl Pomoč
Get Started

User Account

5
  • How to register
  • General settings
  • How to change your password
  • How to add an additional user account for employees
  • How to edit permissions for accounts created for employees

Business Management

4
  • How to customize the appearance of invoices/estimates
  • How to set the tax rate
  • How to set up online payment
  • How to manage your business

App Features

8
  • Dashboard
  • Creating and managing invoices
  • Creating and managing estimates
  • Managing accounts, vendors, expenses, and products
  • Managing customers/clients
  • How to create a recurring invoice
  • Managing business reports
  • Managing HR (Human Resources)

Subscription Management

1
  • How to manage subscriptions?

Earn with us

1
  • How to earn with us
View Categories
  • Home page
  • Knowledge Base
  • App Features
  • Managing business reports

Managing business reports

1 minutes to read

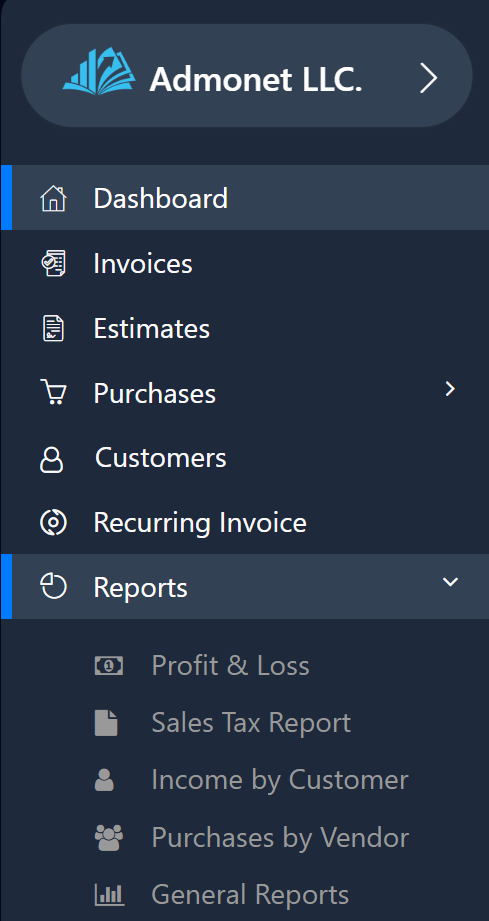
To manage business reports, you need to click on “Reports” in the left menu. The following options will appear:

  • Profit and Loss
  • Sales Tax Report
  • Revenue by Customer
  • Purchases from Suppliers
  • General Reports

In this part of the application, you can track business statistics for the listed items.

Managing the “Profit and Loss” Report

Click on the “Profit and Loss” option to open the report page. If you’re already logged in, you can access it via this link: https://app.adbooks.co/admin/reports/profit_loss?end=2024-11-04&start=2024-01-01&report_type=1, which will automatically redirect you to the page.

On this page, you can choose between two types of reports:

  • Paid and Unpaid (includes all invoices and bills)
  • Paid (only paid invoices and bills)

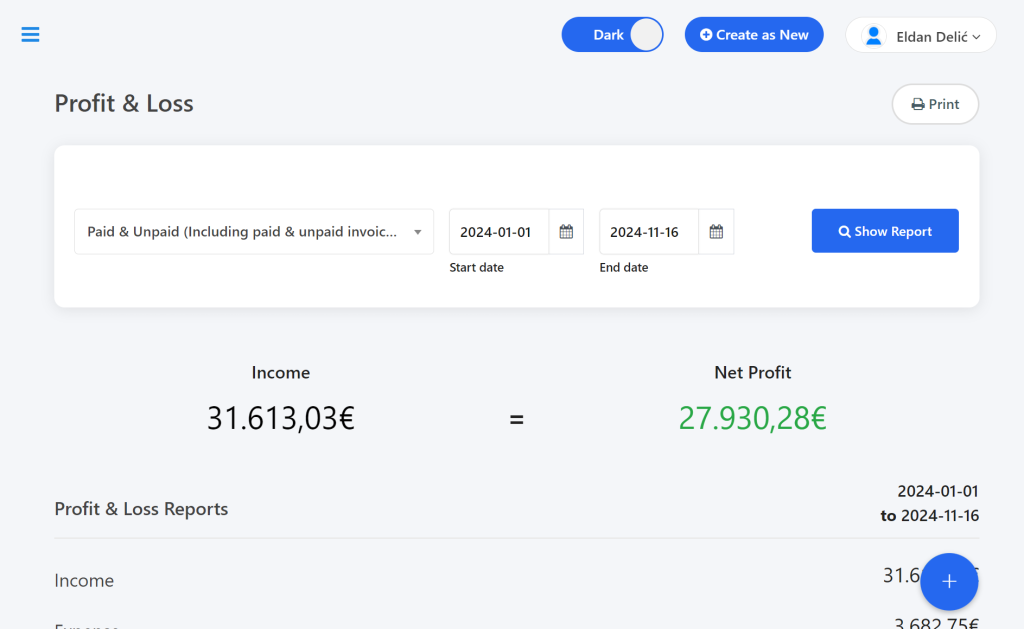
You can filter the reports by start and end date. After adjusting the filters, click on “Show Report” to display the report.

Managing the “Sales Tax Report”

To open the Sales Tax Report, click on the “Sales Tax Report” option. If you’re logged in, access it via this link: https://app.adbooks.co/admin/reports/sales_tax?end=2024-11-04&start=2024-01-01&report_type=1.

Here, you can review statistics for:

  • Paid and Unpaid
  • Paid

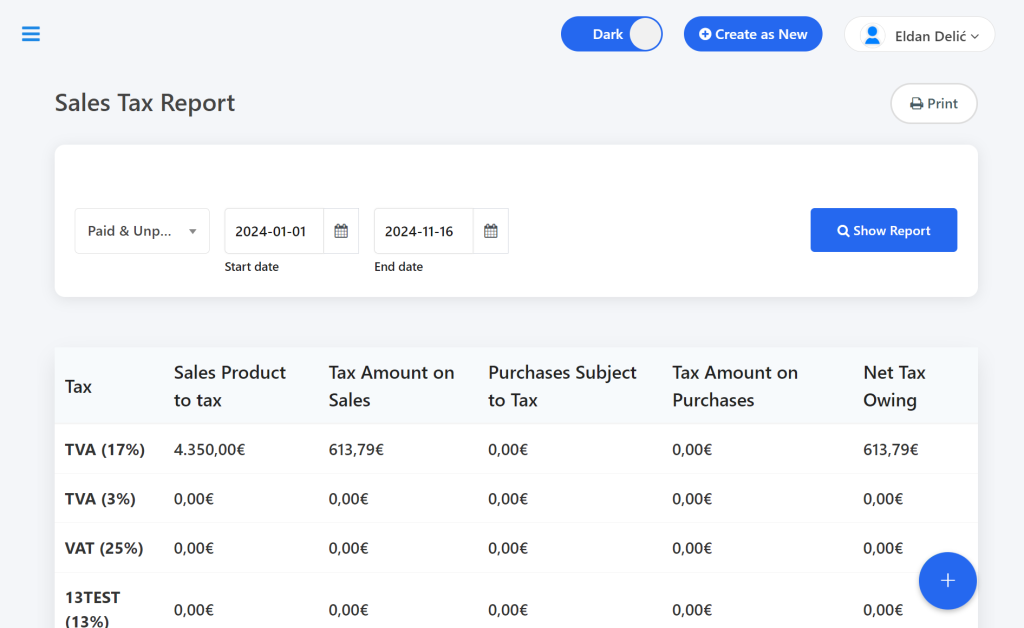
You can filter the reports by date. After adjusting the filters, click on “Show Report” to display the results.

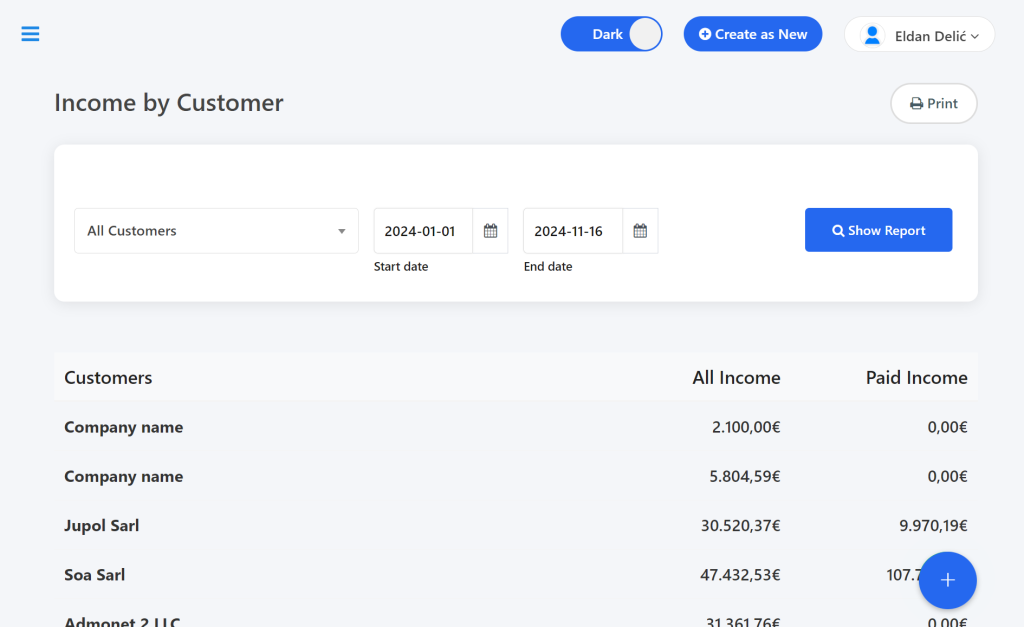
Managing the “Revenue by Customer” Report

Click on the “Revenue by Customer” option to open the page. Access it directly via this link: https://app.adbooks.co/admin/reports/customers?end=2024-11-04&start=2024-01-01&report_type=1 if you’re already logged in.

By default, all customers and revenues will be displayed. You can filter by customer name and date. Click on “Show Report” after adjusting the filters.

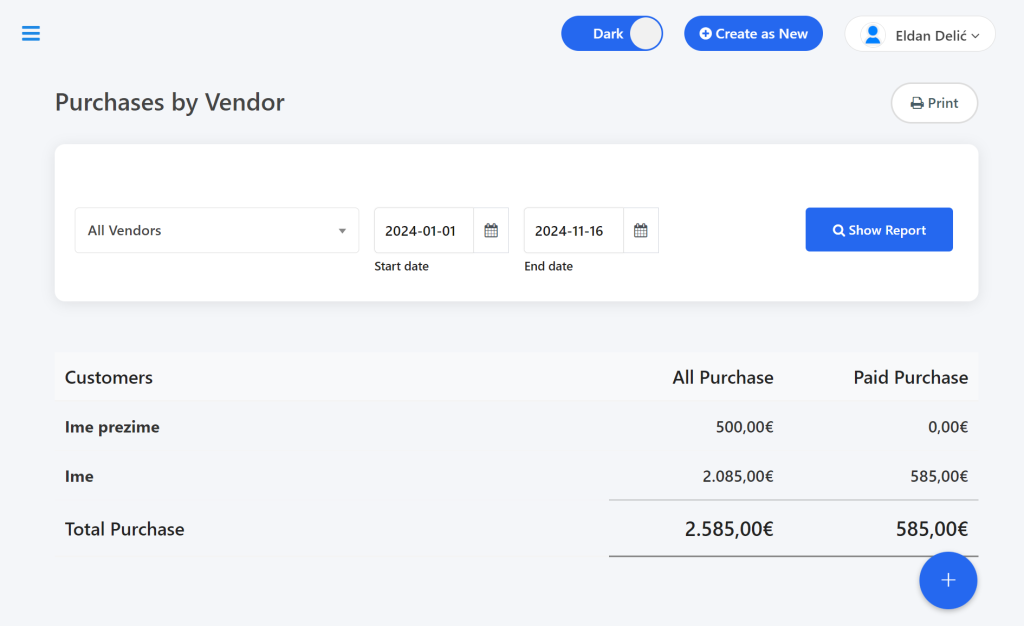
Managing the “Purchases from Suppliers” Report #

To view this report, click on “Purchases from Suppliers” or access it directly here: https://app.adbooks.co/admin/reports/vendors?end=2024-11-04&start=2024-01-01&report_type=1.

Filter the data by suppliers and dates, then click on “Show Report” to display the results.

Managing “General Reports” #

Open the “General Reports” page or use this link for direct access: https://app.adbooks.co/admin/reports.

You can review invoices with or without tax and filter by status (all/paid/unpaid). After adjusting the filters, click on “Show Report” to display the results. Click on “Reset Filter” to revert to the default settings.

Follow these steps for efficient management of reports and statistics in your application.

Video tutorial:


For any additional questions, feel free to contact us via email at info@adbooks.co.

Updated on November 16, 2024
How to create a recurring invoiceManaging HR (Human Resources)
Content
  • Managing the "Purchases from Suppliers" Report
  • Managing "General Reports"

Start your free trial today!

Don’t wait! Start invoicing in just a few minutes and optimize your business.

Try for free
Facebook-f Instagram Youtube Jki-open-book-light
Company
  • Prices
  • About Us
  • My AdBooks Account
  • Blog
  • Knowledge Base
Legal Notices
  • Impressum
  • Terms and Conditions
  • Privacy Policy
  • Contact Us
Languages
  • English
  • Deutsch
  • Bosanski
  • Français
  • Slovenščina
Knowledge Base
  • EN Help
  • DE Hilfe
  • BA Pomoć
  • FR Aide
  • Sl Pomoč
AdBooks Knowledge Base

AdBooks Knowledge Base is your source for all information about our application. Find guides, tutorials, and answers to frequently asked questions in 5 languages: English, German, Bosnian, French, and Slovenian. The knowledge base is here to help you make the most of AdBooks’ features and improve your business.

© AdBooks. All rights reserved.