
To create a recurring invoice, go to the “Recurring Invoice” section in the left menu of the application.
Alternatively, you can directly access the recurring invoice creation page via this link.
After that, a form will appear where you can enter the required details.
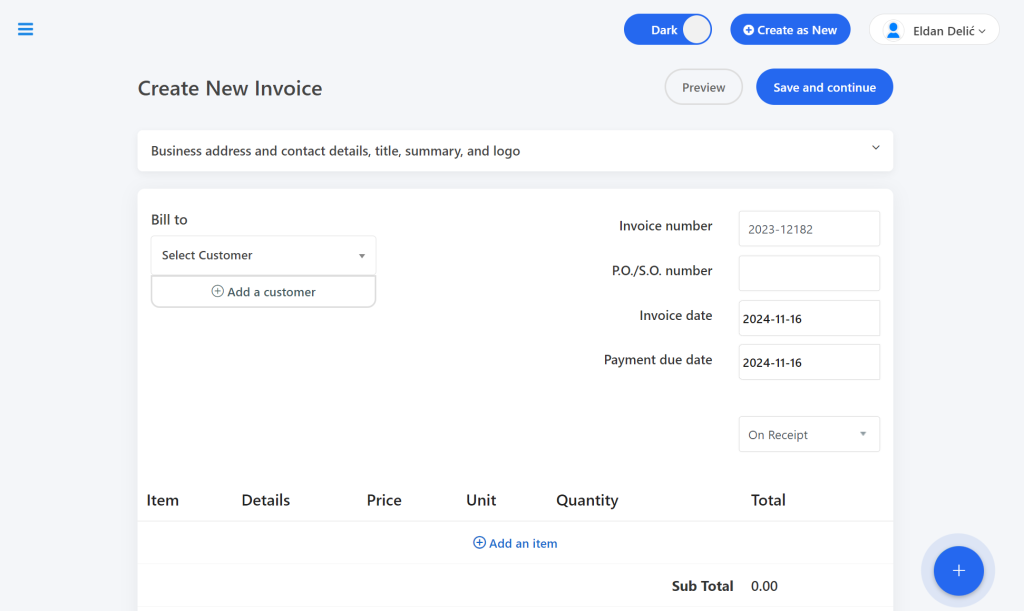
Entering Data for Recurring Invoice

Select the Client – You can choose an existing customer from the database or add a new one by clicking on “Add Customer”.
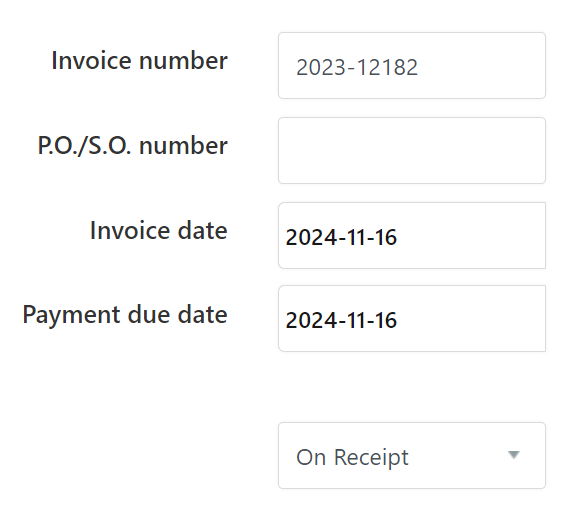
Invoice Number – Enter the invoice number as desired. For example, if you enter 1000, the next number will automatically be 1001.
Invoice Date and Payment Terms – Select the invoice issue date and payment due date (15, 30, 45, 60, 75, or 90 days).

Items/Products – Click on “Add Item” and select a product from the database, or add a new one. Enter the name, description, price, quantity, and unit of measure.
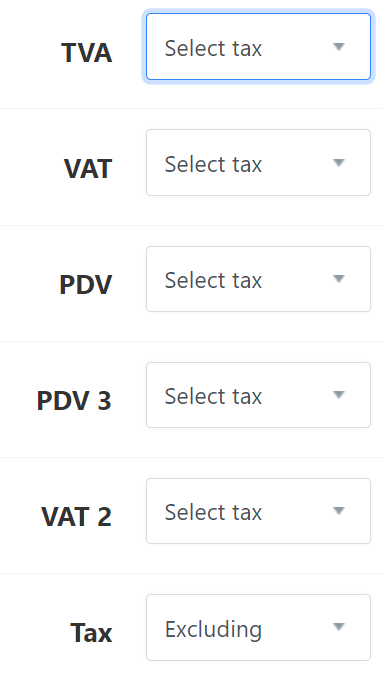

VAT – Select the appropriate VAT rate and option (included or excluded).
Discount – If desired, you can add a percentage discount.
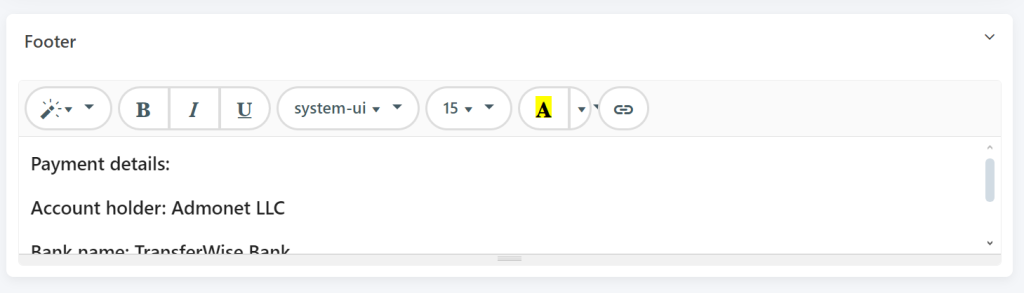
Invoice Footer – Enter additional information, such as payment details and signature.
Reviewing and Saving a Recurring Invoice
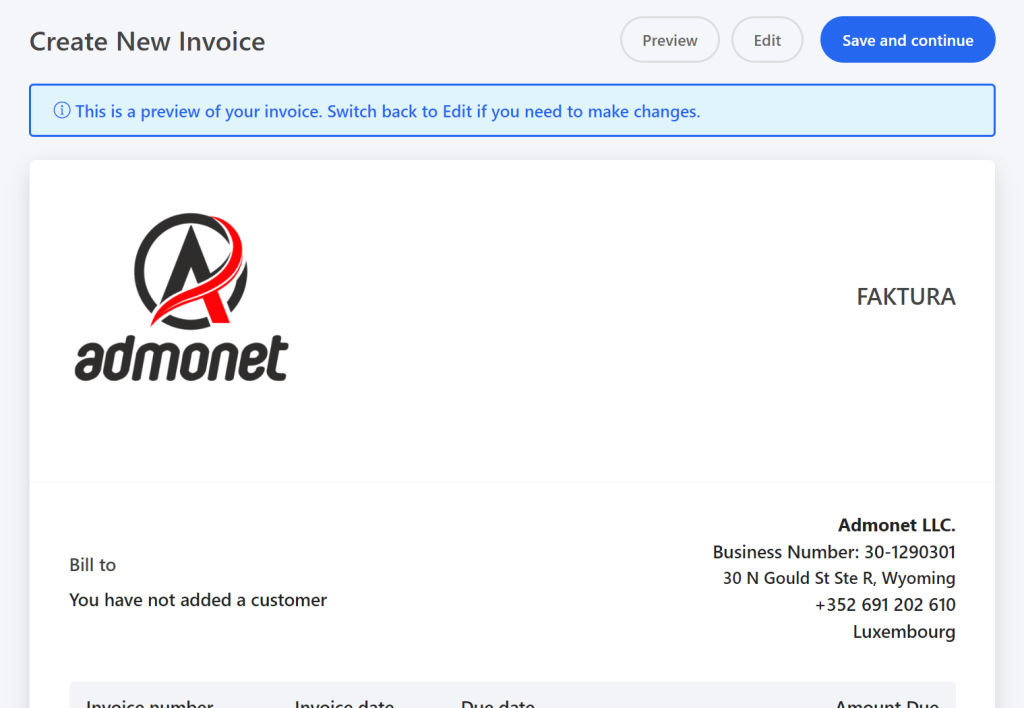
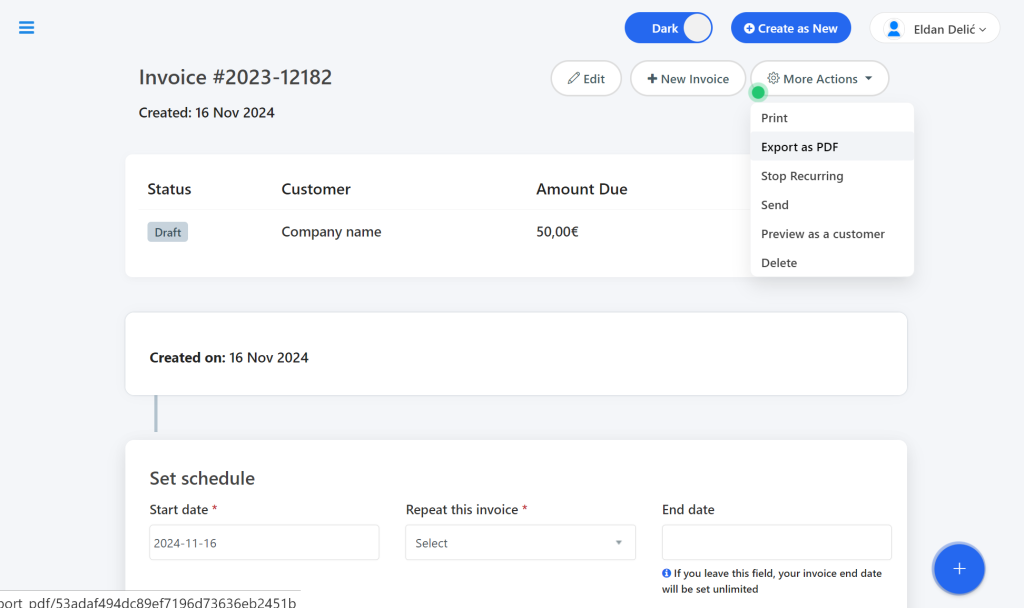
After entering all the data, click on “Preview” to see how the invoice looks before finalizing it. If everything is correct, click on “Save and Continue”.
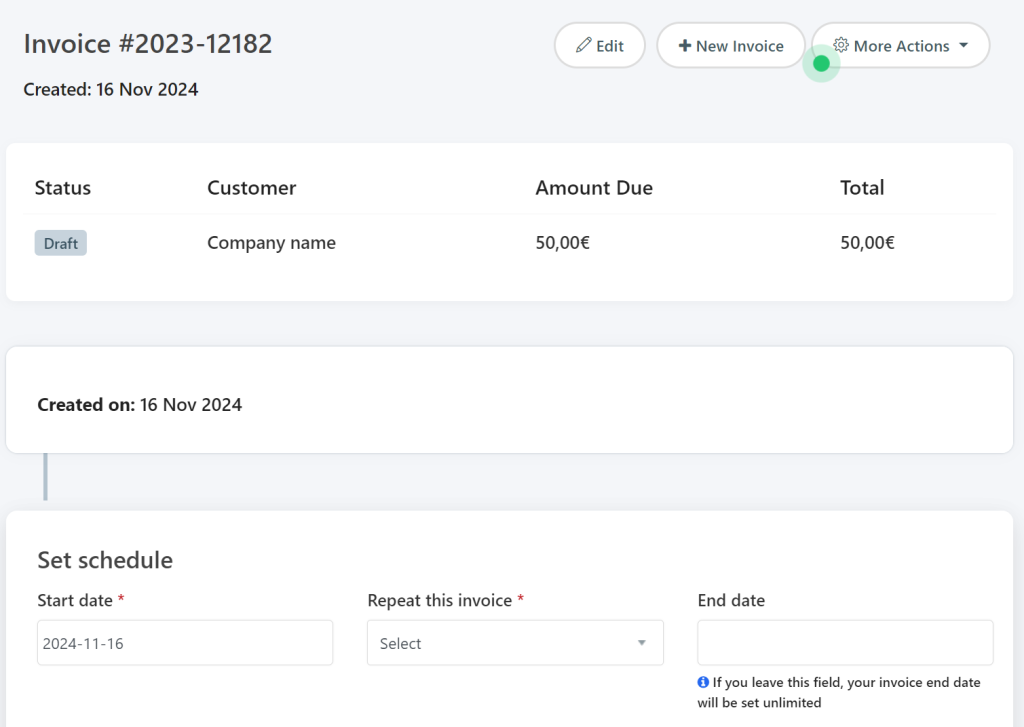
Setting up the recurring invoice schedule
After saving the invoice, you will be able to set the schedule for its recurrence:
- Start Date – select the date when the recurring invoice should start.
- Repeat this invoice – choose the interval for the recurrence (weekly, monthly, yearly, etc.).
- End Date – select the date when the recurring invoice should stop.
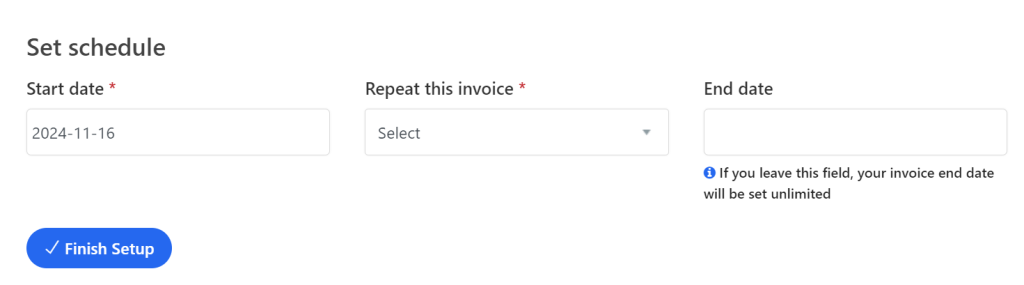
Once you set the schedule, click on “Finish Setup” to complete the setup of the recurring invoice.
Congratulations, you have successfully set up the recurring invoice!
For any further questions, feel free to contact us via email at info@adbooks.co.