
To customize the appearance of invoices, estimates, and other documents in the AdBooks application, follow these steps:
- Click on your name in the upper-right corner of the screen.
- Select “Account Settings”.
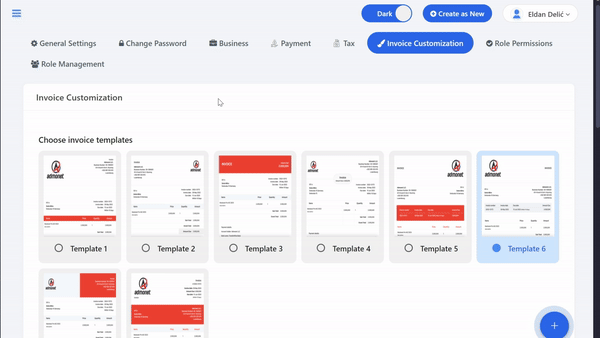
- Click on “Invoice Customization”.
Direct Access: If you are already logged into the application, you can open the page via this link: https://app.adbooks.co/admin/business/invoice_customize.
Customization Options
On the Invoice Customization page, you will find various options to edit the design of invoices and similar documents:
- Invoice Templates: Choose from 8 different templates. Select the one that suits you best.
- Template Color: Pick a color that best matches your brand.
- QR Code for Invoice: Enable the QR code by clicking the box next to the option. This will add a QR code to all new invoices.
- Product Stock: Enable the option to track stock by clicking the box next to “Enable product stock”. Each invoice will automatically update the stock levels.
- Expense Tracking: Activate this option to track your expenses. This will add the Bills, Suppliers, and Expenses pages to your main menu.
- Projects – By activating this option, you gain full control over your projects. A Projects page will be automatically added, along with a Create New Project option in the main menu and the ability to create invoices and quotes either within a project or outside of it. This allows you to easily track and manage all your projects.
Expense Tracking Details
- On the Bills page, you enter your expenses.
- On the Suppliers page, you keep a record of your suppliers.
- On the Expenses page, you can add expenses and link them to suppliers.
For more information about bills, suppliers, and expenses, click here.
Projects
On the Projects page, you can create, view, and delete projects, as well as filter them by name, client, or date.
Project Overview
By clicking the Overview icon, you can create invoices and quotes, edit the project name and status, or delete the project. Below, you will find a list of all related invoices and quotes with additional management options.
Main Menu
When projects are enabled, a Create New Project option is available in the main menu, allowing you to enter the project name and status.
Additionally, when creating invoices or quotes from the main menu, you can select an existing project, create a new project, or proceed without a project.
For more information about projects, click here.
Additional Settings
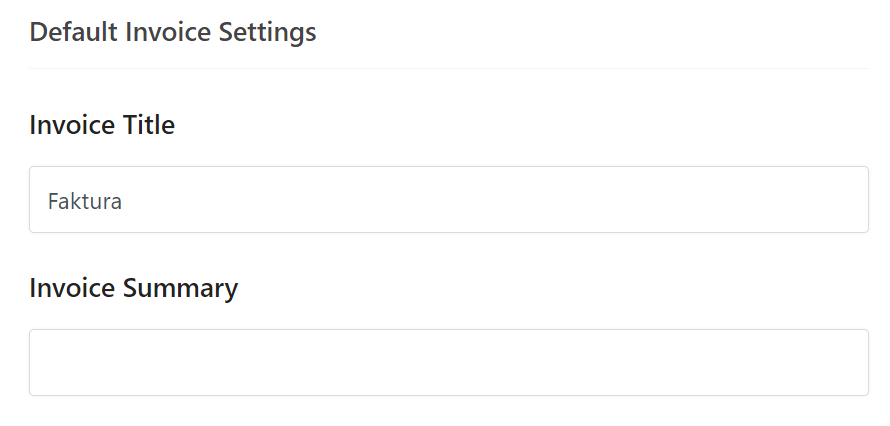
- Invoice Title and Summary: Enter the title and summary for the invoice. For example, “Invoice” for the English language.
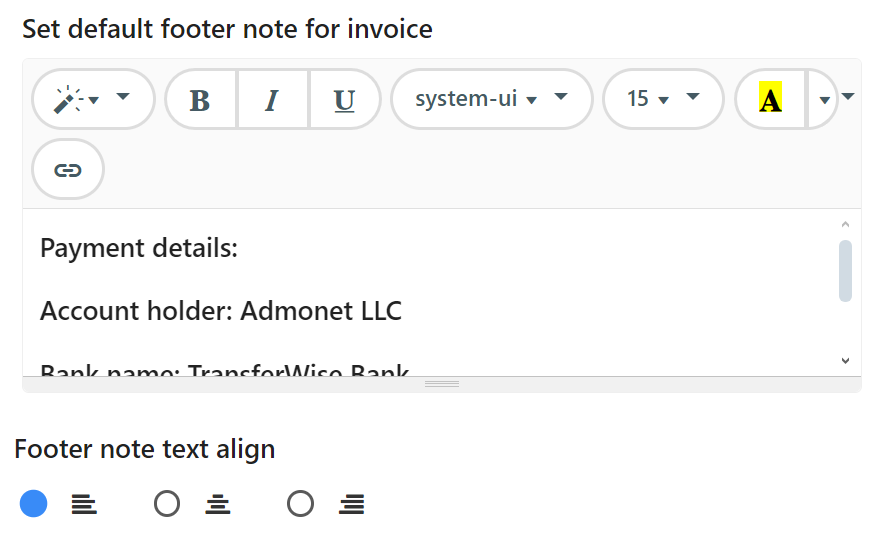
- Setting Notes: Add a note in the footer of the invoice and specify the position (left, center, right).
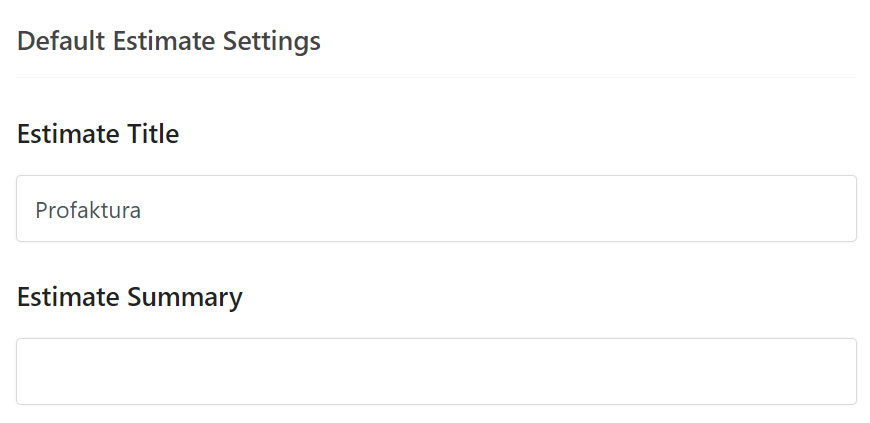
- Estimate Title and Summary: Set the title and summary for the estimate (e.g., “Quote” or “Estimate”).
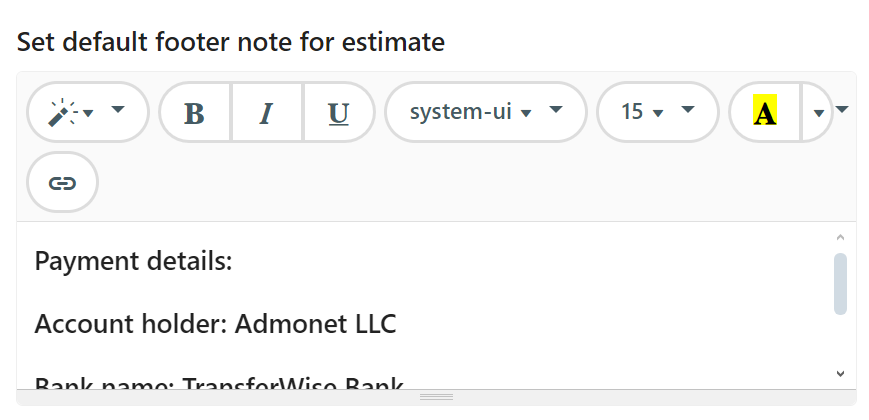
Setting Notes: Add a note in the footer of the invoice and specify the position (left, center, right).
Save Changes #
After making all the modifications, click on “Save Changes” to apply your customized settings.

For any additional questions, feel free to contact us via email at info@adbooks.co.