To set the tax rate, follow these steps:
- Click on your name in the upper-right corner of the screen.
- Select “Account Settings”.
- Click on the “Tax” option.

Quick Access: If you are already logged into the AdBooks application, you can directly open the page via the following link: https://app.adbooks.co/admin/tax.
Adding a Tax Category
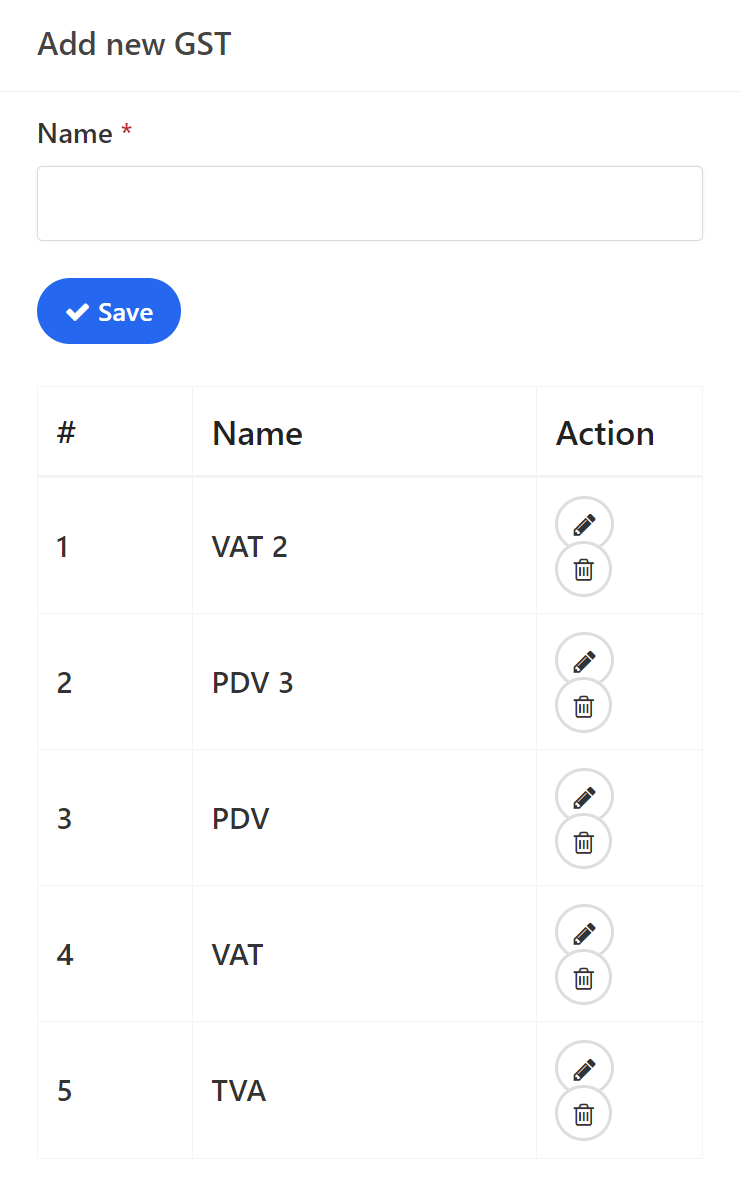
On this page, you can add a new tax category. For example, if you want to add tax rates of 17% and 3%, first create a category named “VAT”.
- Enter the category name under the “Add Tax Category” option.
- Click “Save” to save the category.

Editing and Deleting Categories: You can edit categories by clicking the pencil icon, or delete them by clicking the trash can icon.

Adding a Tax Rate
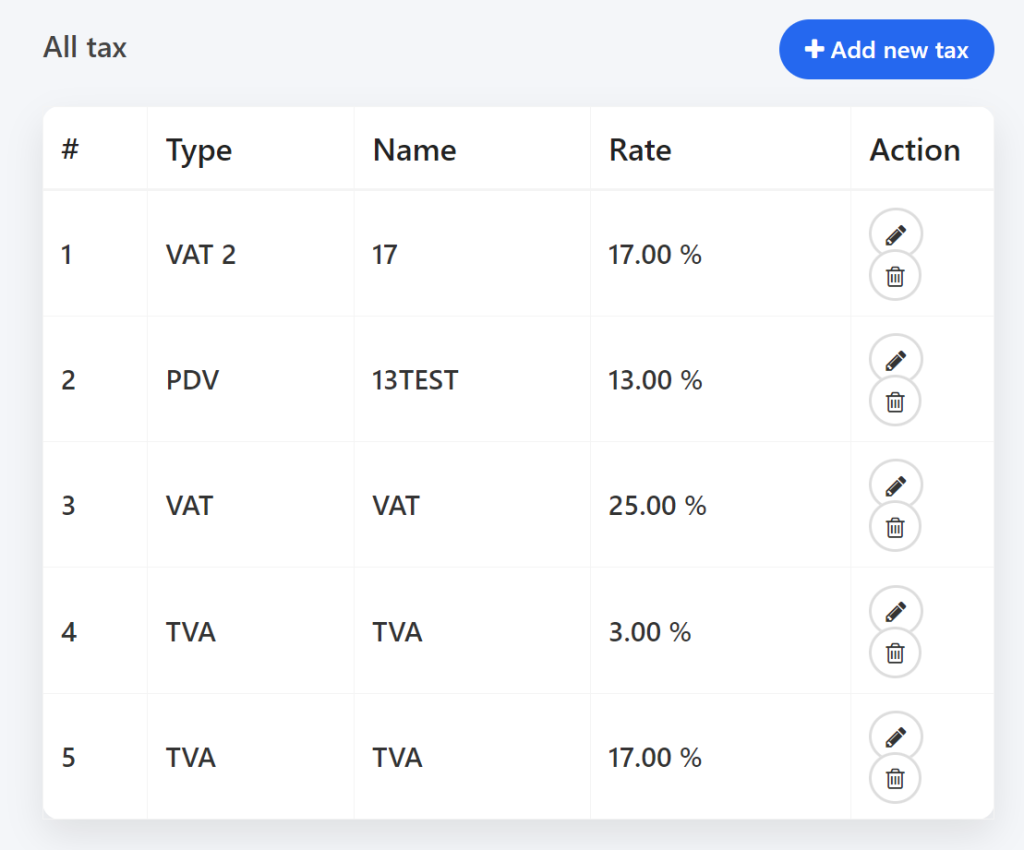
- Click on “Add Tax”. A form will open that you need to fill out.
- Tax: Select the previously created tax category.
- Tax Name: Enter the name that will appear on your documents (e.g., VAT/TVA).
- Tax Rate: Enter only the tax rate number, without any symbols (e.g., for 17%, enter only 17).
- Tax Number/ID: Enter your VAT/TVA number if you have one.
- Details: Enter any additional information about the tax rate (optional).

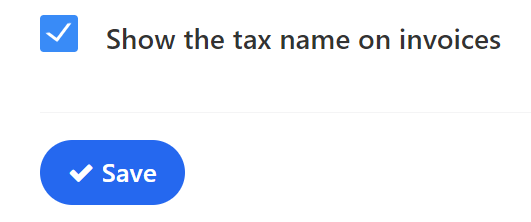
Display on Documents #
If you want this tax rate to appear on invoices and other documents, check the option to display the rate.

When you finish entering the data, click on “Save”.
Editing: Click on the pencil icon.
Deleting: Click on the trash can icon.
Adding new tax rates: Click on “Add tax” to add new rates.

You have successfully set the tax rate!
For any additional questions, feel free to contact us via email at info@adbooks.co.
