To manage bills, vendors, expenses, and products or services, there are separate pages within the app, and we will explain in detail how each section works below.
Note: Before you can view these pages, you need to enable their visibility in the settings. Here’s how:
- Click on your name in the top right corner of the screen.
- Select “Account Settings”.
- Then click on “Invoice Customization”.
- Scroll to the bottom of the page and check the option “Enable Expense Tracking”.
- Scroll to the bottom of the page and click “Save Changes”.
By doing this, you will activate access to pages such as Vendors, Expenses, and others.

By doing this, you will activate the ability to access pages such as Vendors, Expenses, and others.
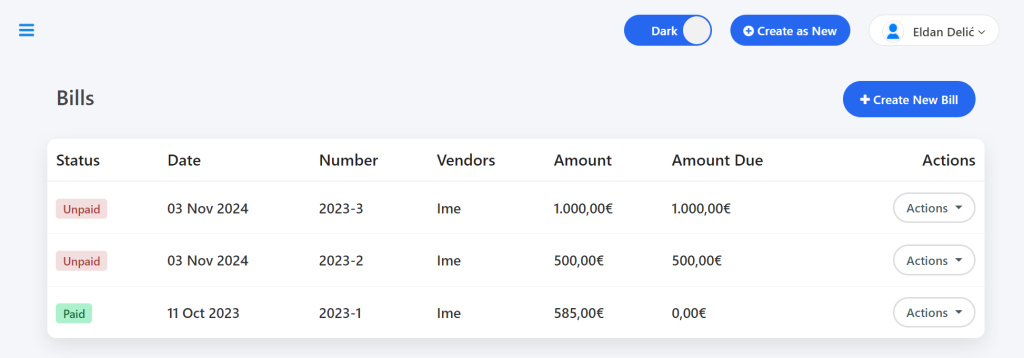
Bills – in this section, you can create, edit, delete, export bills as PDFs, view the bill as a customer, and much more.
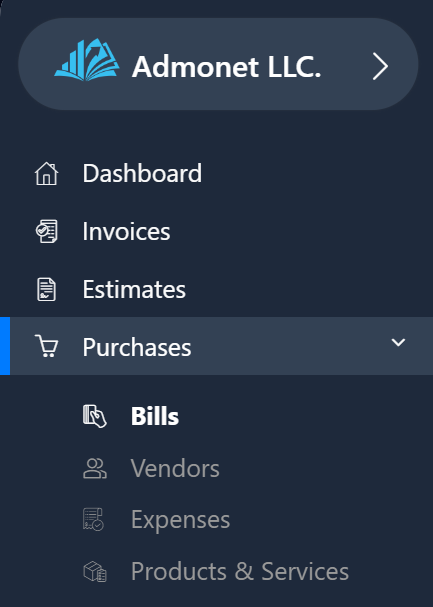
To add an bill, you need to go to the “Bills” page, which is located in the left menu, or click directly on this link: https://app.adbooks.co/admin/bills if you’re already logged into the AdBooks app – clicking the link will automatically take you to the “Bills“ page.
After clicking on “Create Bill”, a separate page will open with fields for entering the bill information.
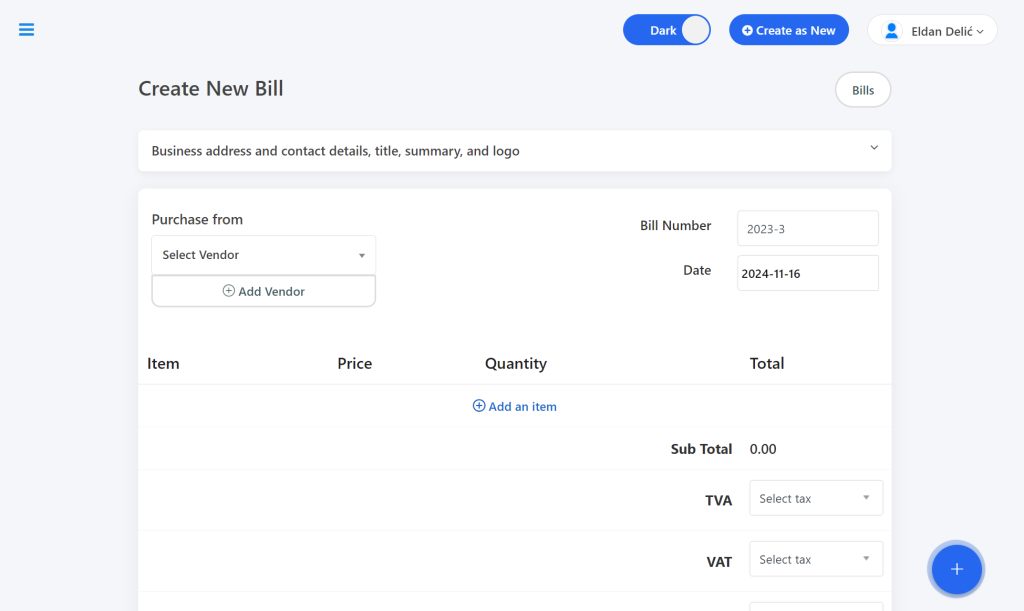
Business address, contact details, title, summary, and logo. These details are edited in the “Business” section of the app.
For more information on managing your business information, you can find it here: https://help.adbooks.co/knowledge-base/how-to-manage-your-business/
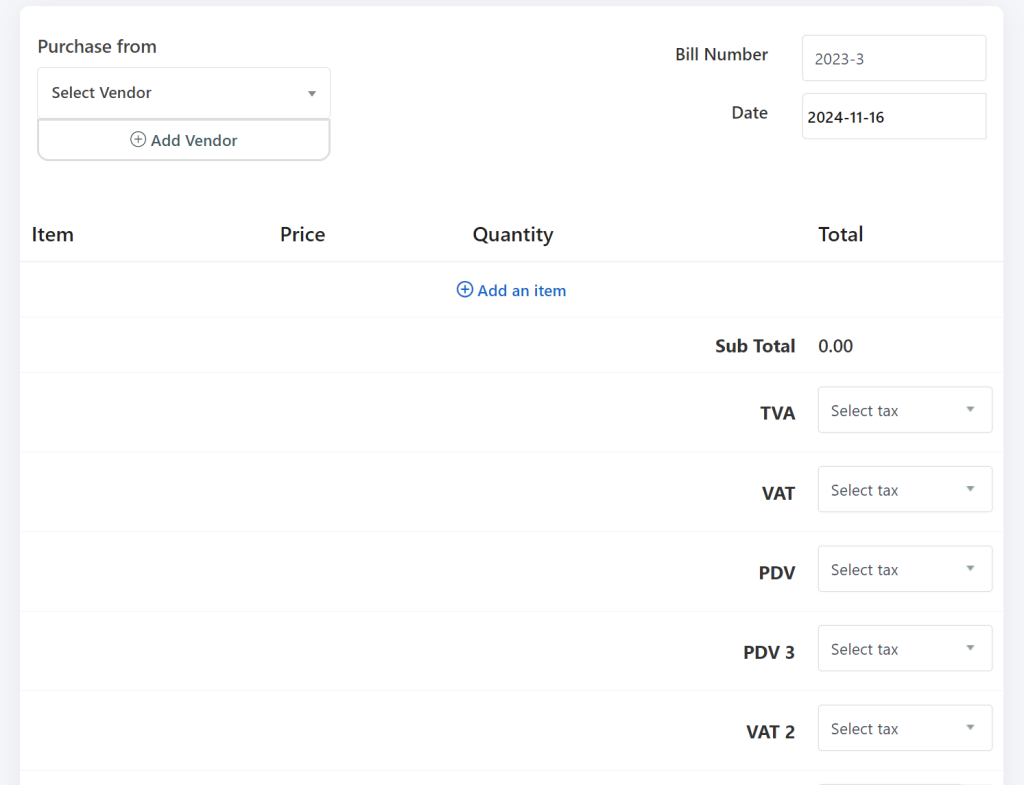
Purchased from – select a supplier or add a new one. You can choose the supplier’s name or add a new one.
Bill Number – you can edit this field as you wish.
Date – you can also edit this field as needed.

You can add a new item by clicking on “Add Item”, then click on “Add Item” again if you want to add another. If you want to add an item or product already in the database, type the name in the “Product Type” field and click on the product to add it.
Select the VAT/TVA if it’s enabled.
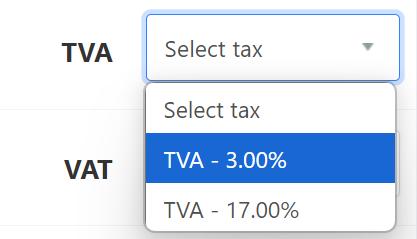
The tax is managed in a separate section of our AdBooks application.
You can read more about it by clicking here: https://help.adbooks.co/knowledge-base/how-to-set-the-tax-rate/
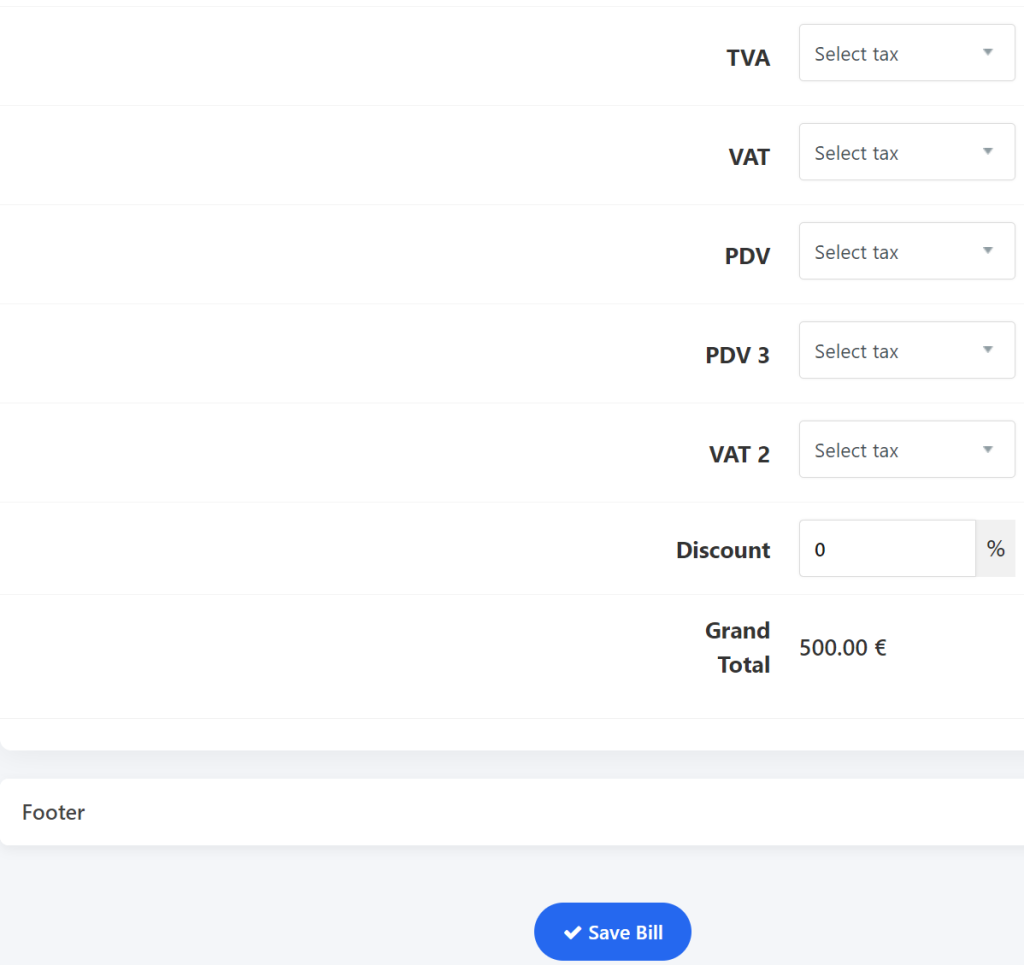
Once you’ve entered all the necessary information, click “Save Bill“.
Congratulations, you have successfully created the bill!
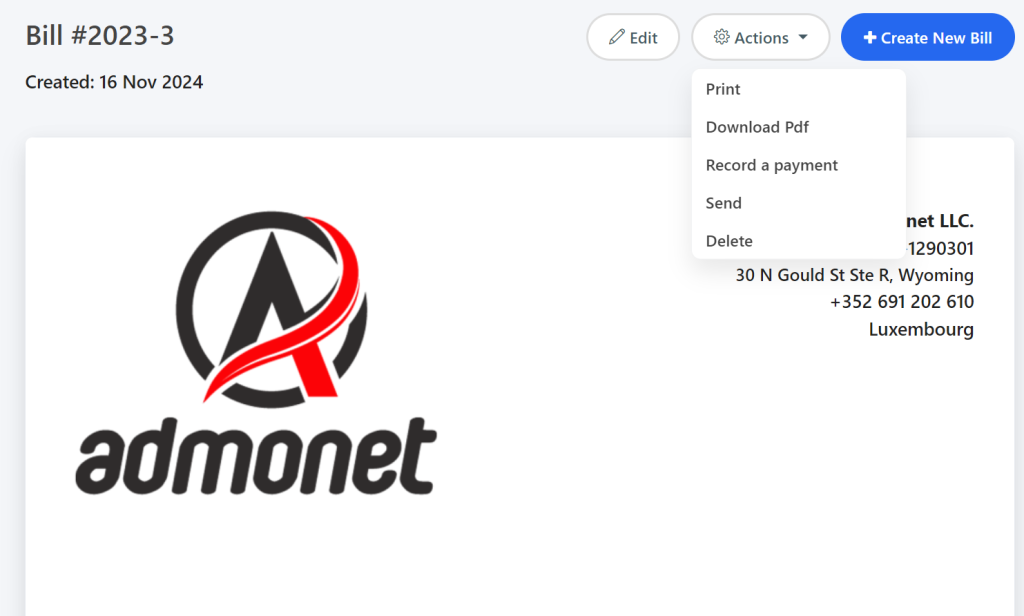
You can edit it by clicking the “Edit” button.
By clicking on “Actions”, you can print the bill, download it as a PDF, send it via email by clicking “Send”, or delete it by clicking “Delete”.
To create a new bill, click on the “Create New Bill” button.
Let’s move on to the Vendors page.
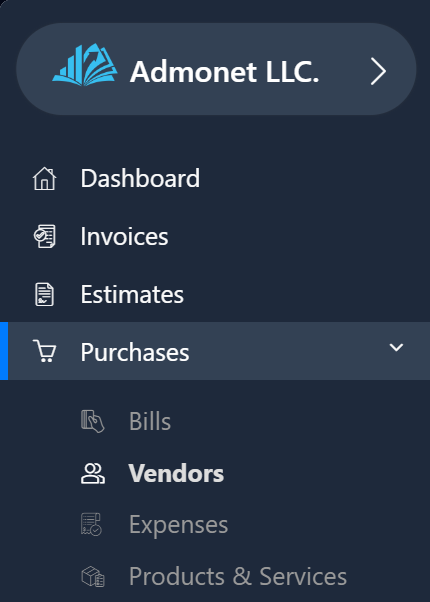
To manage vendors, you can find the “Vendors” page in the left menu, or if you’re already logged into the AdBooks app, you can click on this link: https://app.adbooks.co/admin/vendor and you will be automatically redirected to the “Vendors“ page.

On this page, you can add, edit, or delete a supplier.
To add a supplier, click on the “Add Supplier” button.
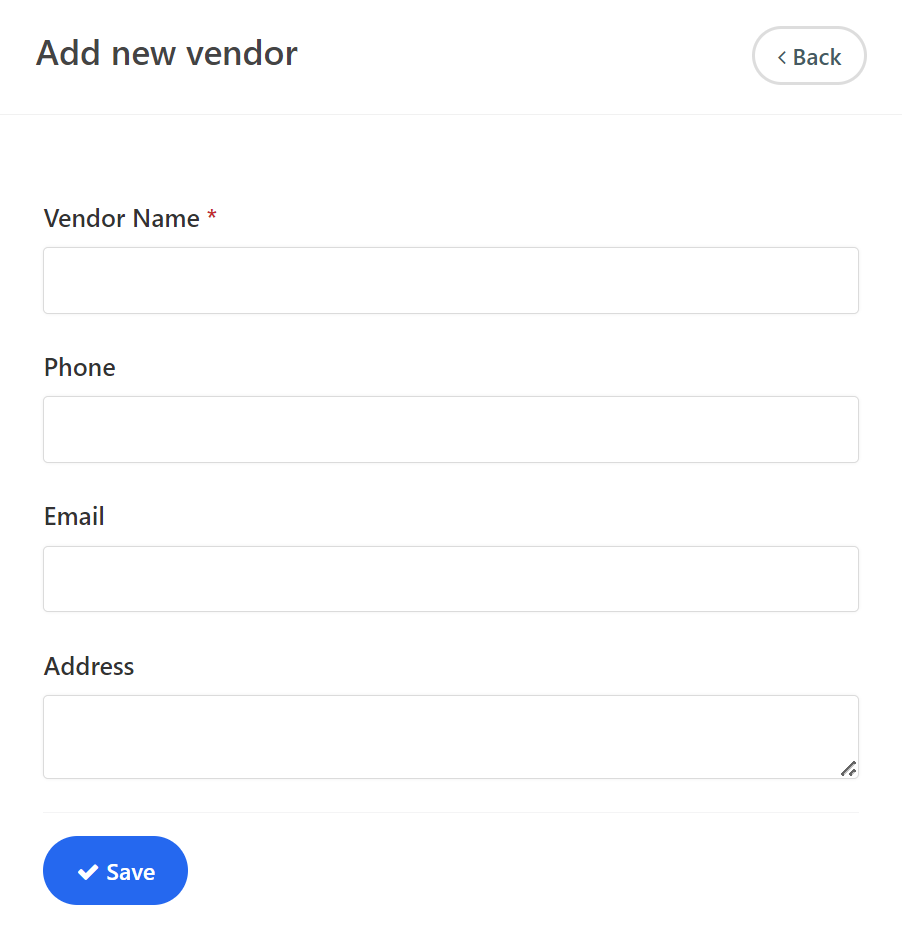
Then, enter the supplier’s name, phone number, email, and address. Once you’ve entered all the required information, click the “Save” button.
Congratulations, you’ve successfully saved/added the supplier!
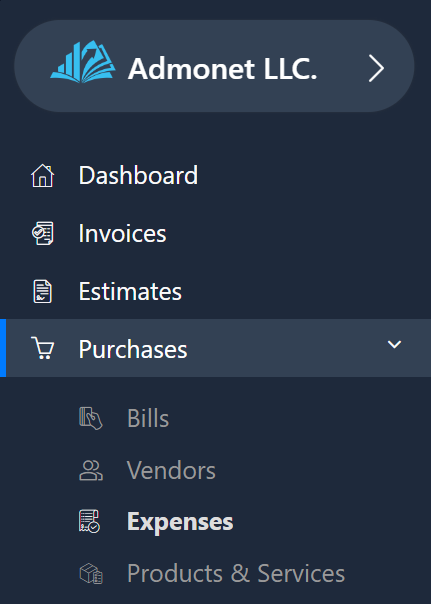
To manage expenses, you need to click on the “Expenses” page under “Purchases” in the left menu. Alternatively, if you’re already logged into the AdBooks app, you can access the “Expenses” page by clicking on this link: https://app.adbooks.co/admin/expense.

Here, you can add an expense category by clicking on “Add Category”, or add an expense by clicking on “Add Expense”.
After clicking on the “Add Expense” button, a special form will appear that you need to fill out.
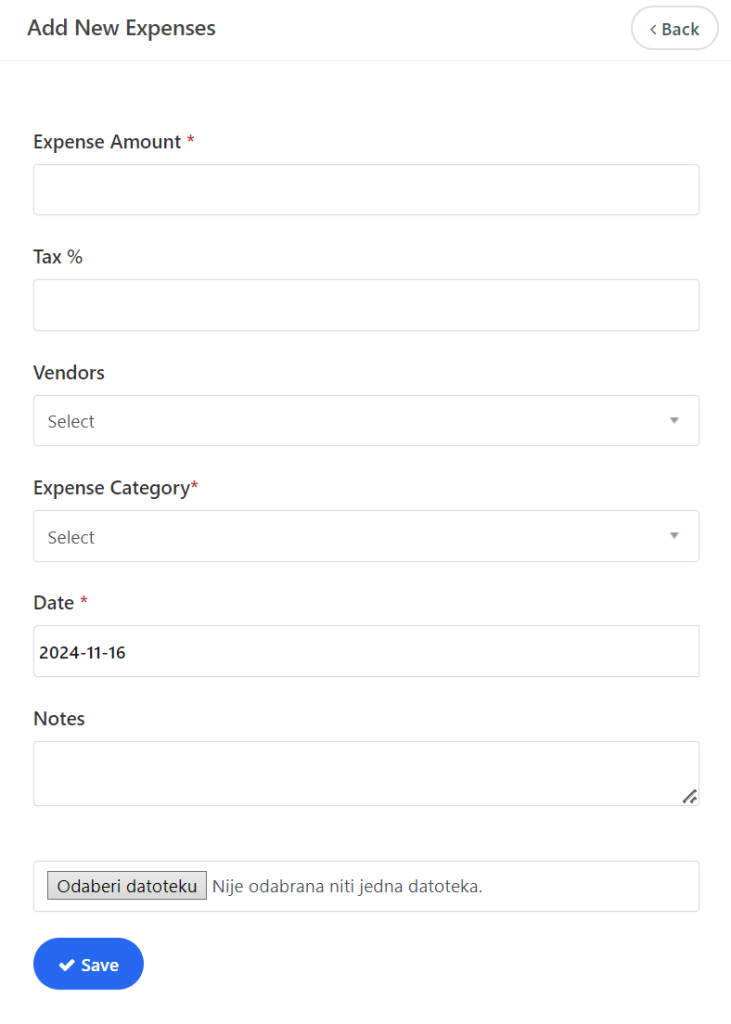
Expense Amount – the amount of the expense.
Tax % – the tax amount.
Vendors– select the supplier.
Expense Category – the category of the expense.
Date – the date of the expense.
Note – a description of the expense.
Choose File – here you can upload a file, such as a receipt image or PDF bill, and similar.
Once you’ve entered all the required information, click the “Save” button.
Congratulations, you’ve successfully saved/added the expense!
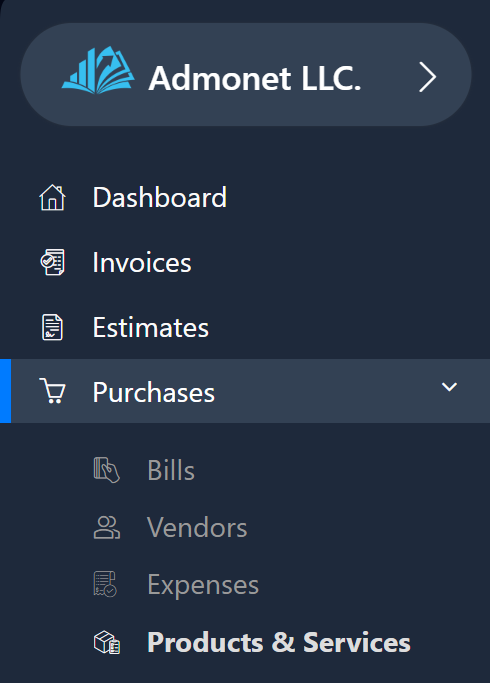
Products and Services – To manage services, click on “Purchases” in the left menu, then select “Products and Services”.
If you’re already logged into the AdBooks app, you can simply click on this link: Products and Services and you will be automatically redirected to the “Products and Services” page.
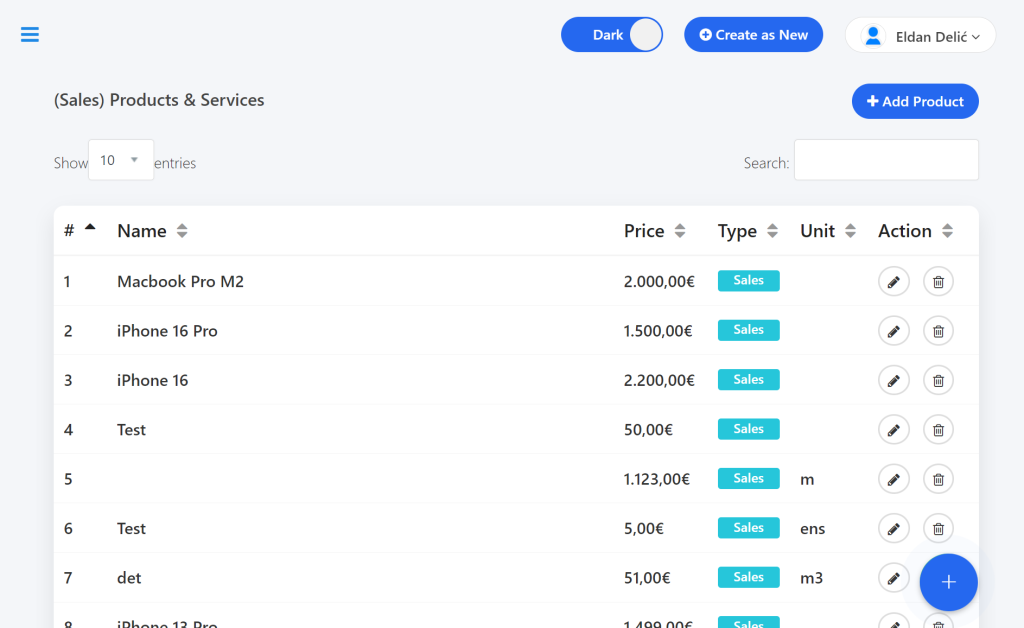
Here, you can view all products, search for products, edit or delete them. By clicking on the “Add Product” button, you can add a new product.
After clicking on the “Add Product” button, a special page will open for entering product information, such as:
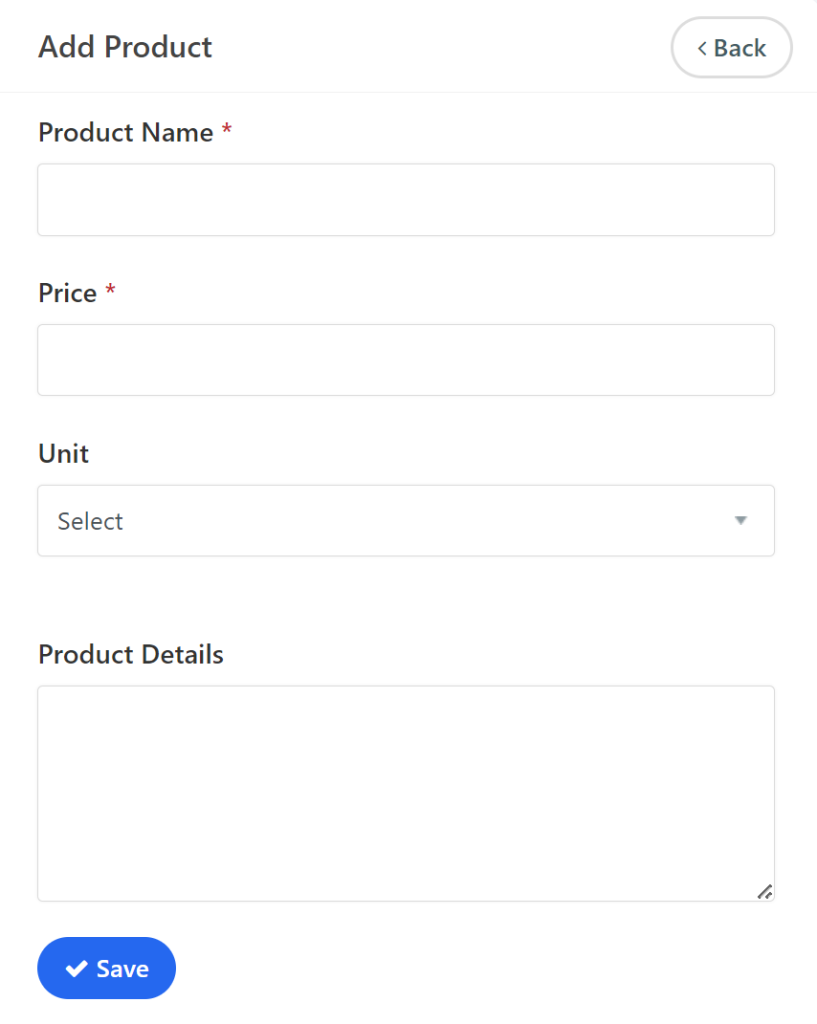
Product Name
Price
Unit – measurement unit; if the product has one, select it, if not, leave it empty.
Product Details – description of the product or service you are selling.
After entering all the required information, click the “Save” button.
Congratulations, you have successfully saved/added the product. You can edit the product in the same way by clicking on the pencil icon.
That’s a brief overview regarding purchases, bills, vendors, costs, and products or services.
For any additional questions, feel free to contact us via email at info@adbooks.co.
