
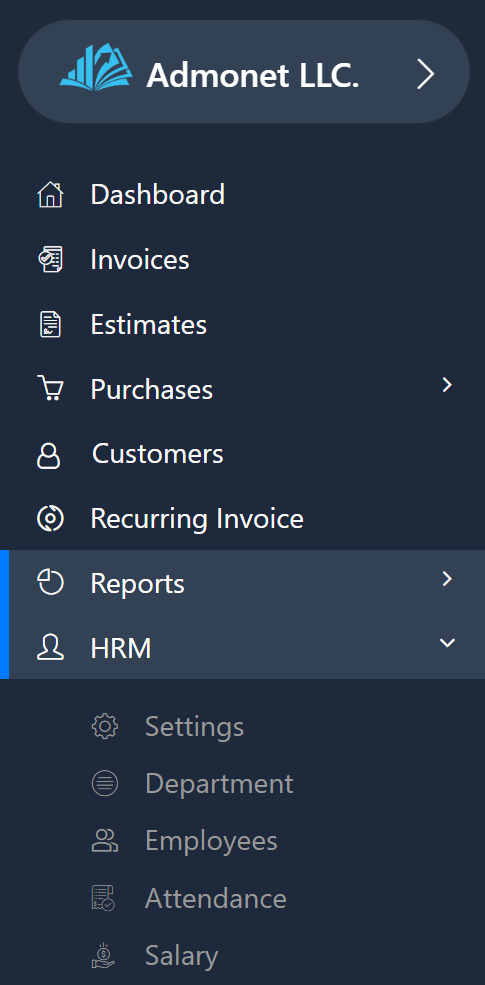
To manage HR in the application, click on “HRM” in the left menu, where you will find the following pages:
- Settings
- Department
- Employees
- Attendance
- Salary
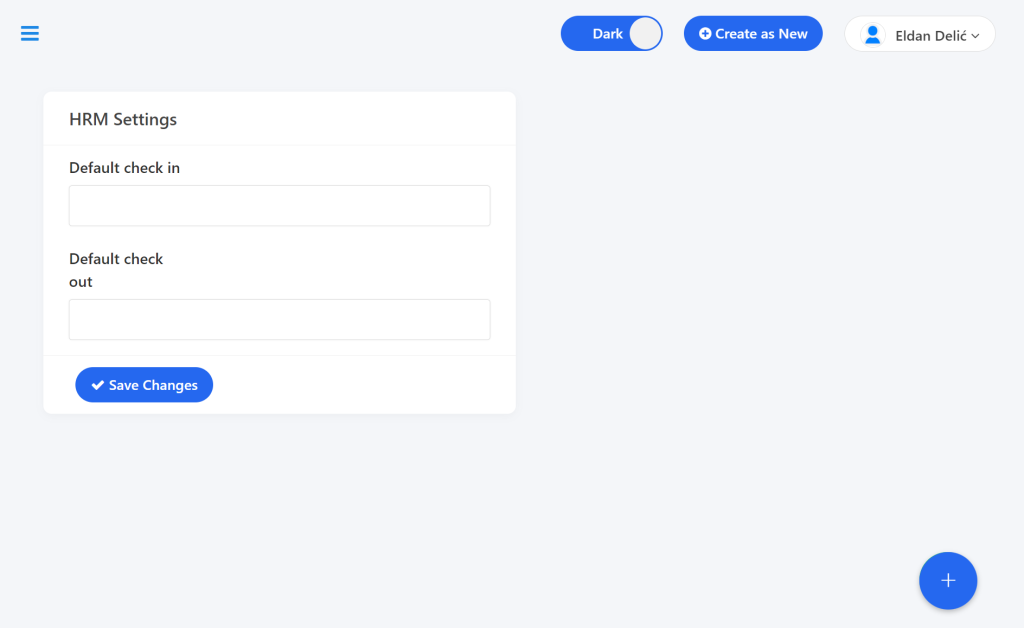
Settings #
Click on “Settings” to manage basic configurations. If you’re already logged in, you can access it directly via this link: https://app.adbooks.co/admin/hrm/hrm_settings.
The options in the settings allow you to manage the default login and logout times for employees.
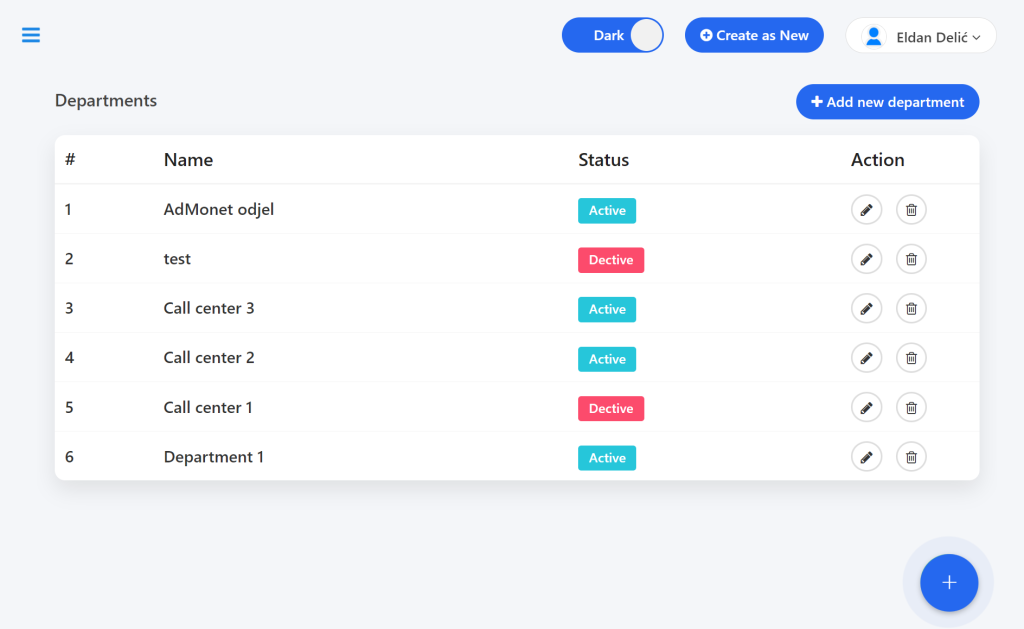
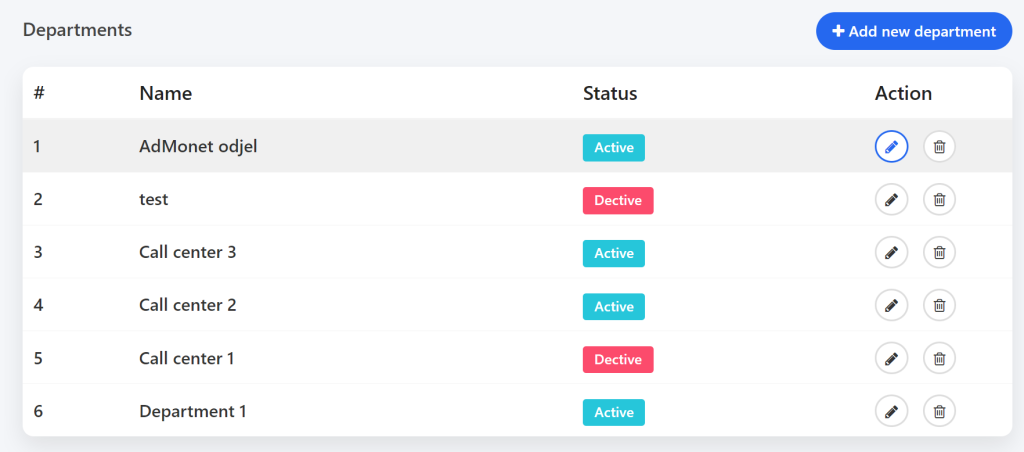
Department #
To manage departments, click on “Department” or use this link: https://app.adbooks.co/admin/hrm/departments.
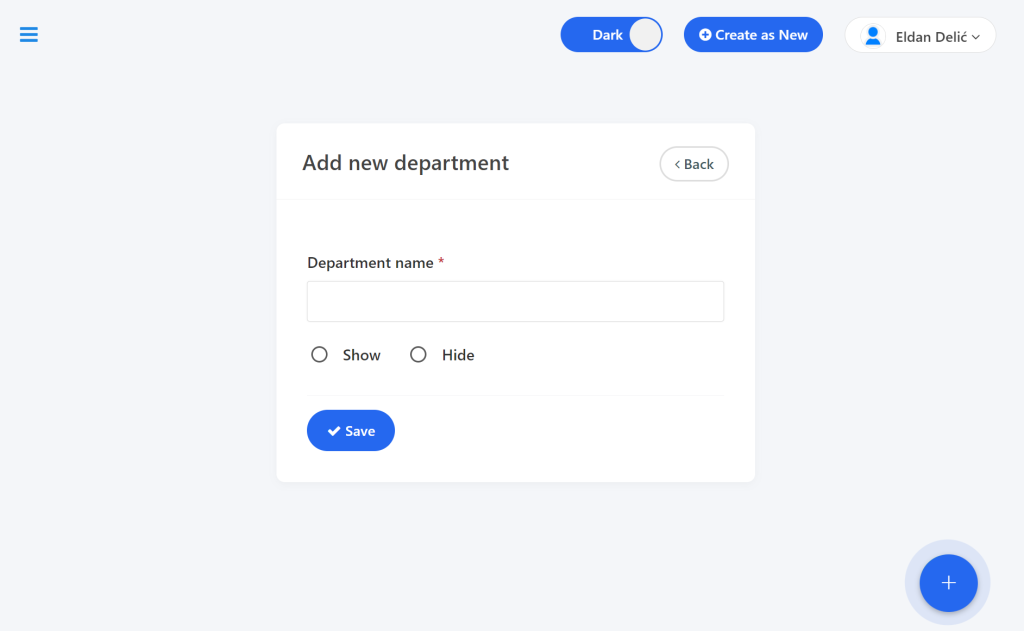
Adding a New Department:
- Click on “Add New Department”.
- Enter the following information:
- Department Name *
- The Show/Hide option (controls the visibility of the department).
- Click on “Save”.
To update, use the pencil icon, and to delete, use the trash can icon under “Action”.
Employees #
Click on “Employees” or use this link: https://app.adbooks.co/admin/hrm/employee.
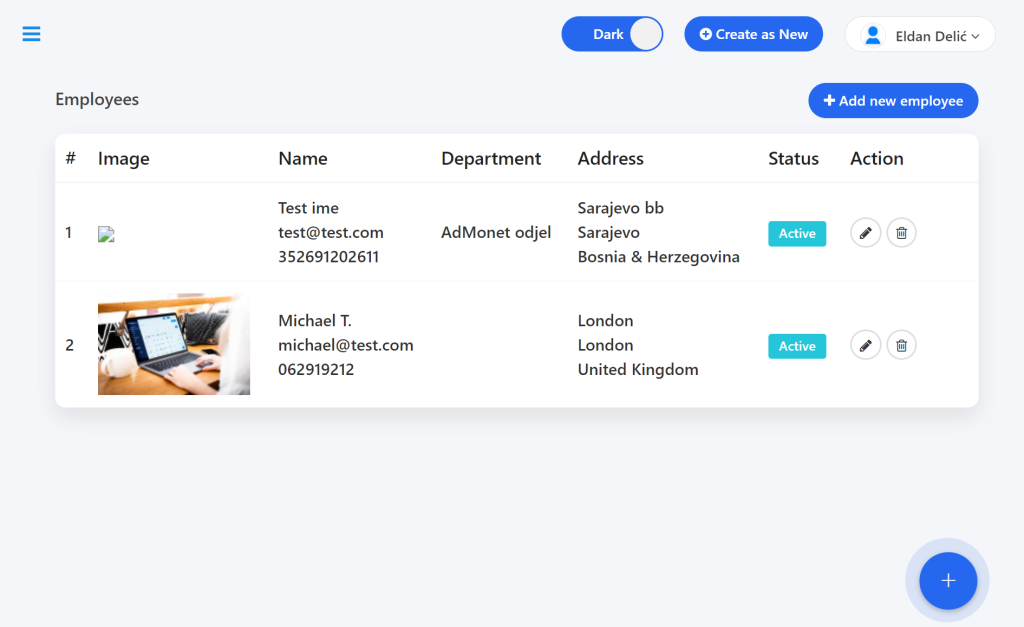
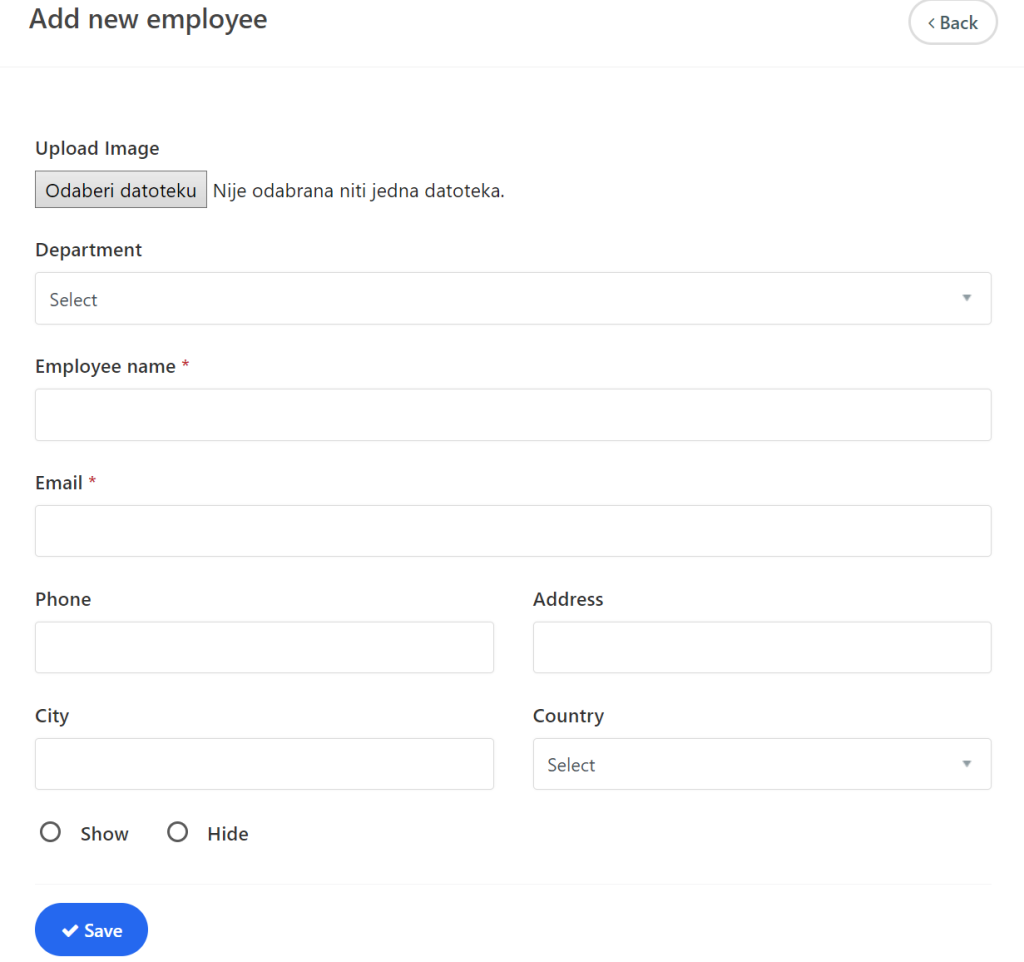
Adding an Employee:
- Click on “Add New Employee”.
- Fill in the required information:
- Employee Photo
- Department
- Full Name *
- Email *
- Phone, Address, City, Country
- The Show/Hide option.
- Click on “Save”.
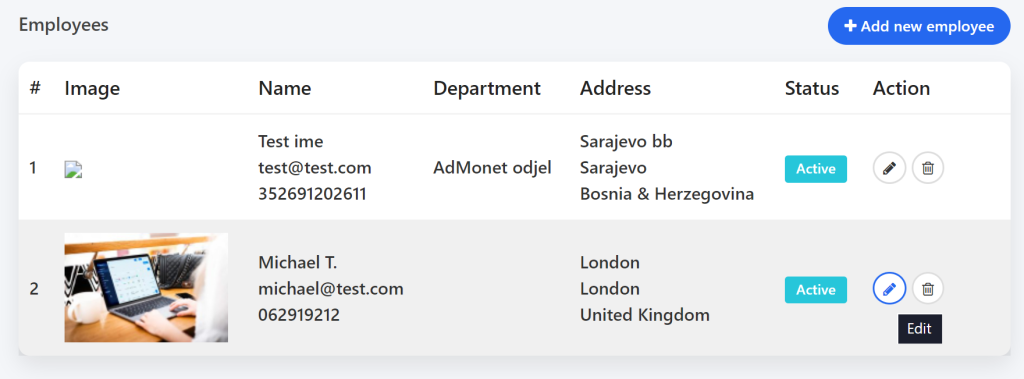
You can update or delete an employee using the pencil icon for editing or the trash can icon for deleting.
Attendance #
Click on “Attendance” or use this link: attendance.
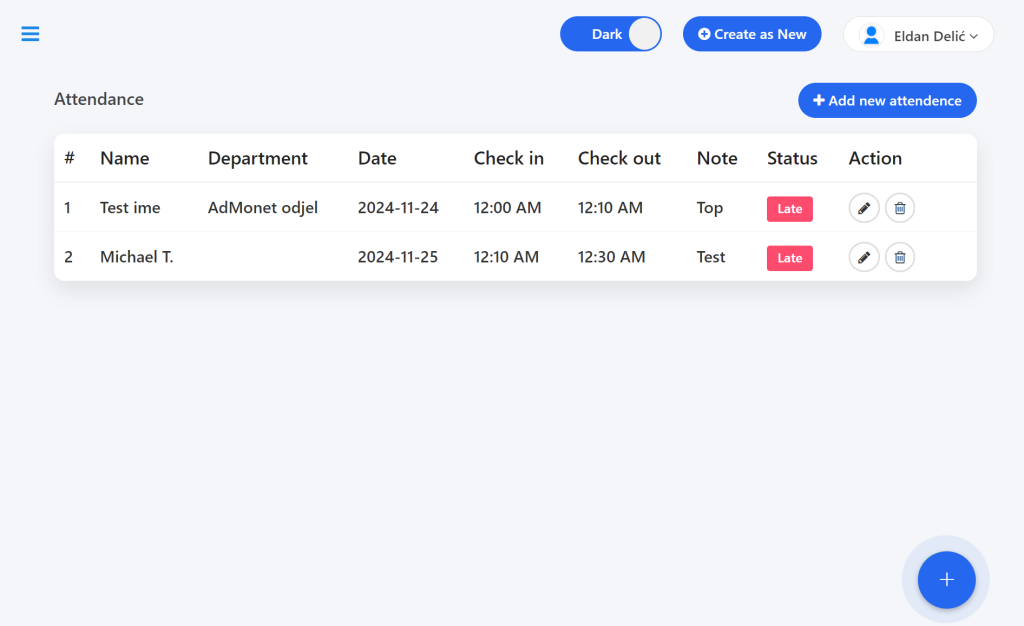
Adding Attendance:
- Click on “Add New Attendance”.
- Fill in the form with the following details:
- Employee
- Date, Login, Logout, Note *
- Click on “Save”.

Updating and Deleting Attendance is done using the pencil icon for editing and the trash can icon for deleting.
Salary
Click on “Salary” or use this link: https://app.adbooks.co/admin/hrm/salary.
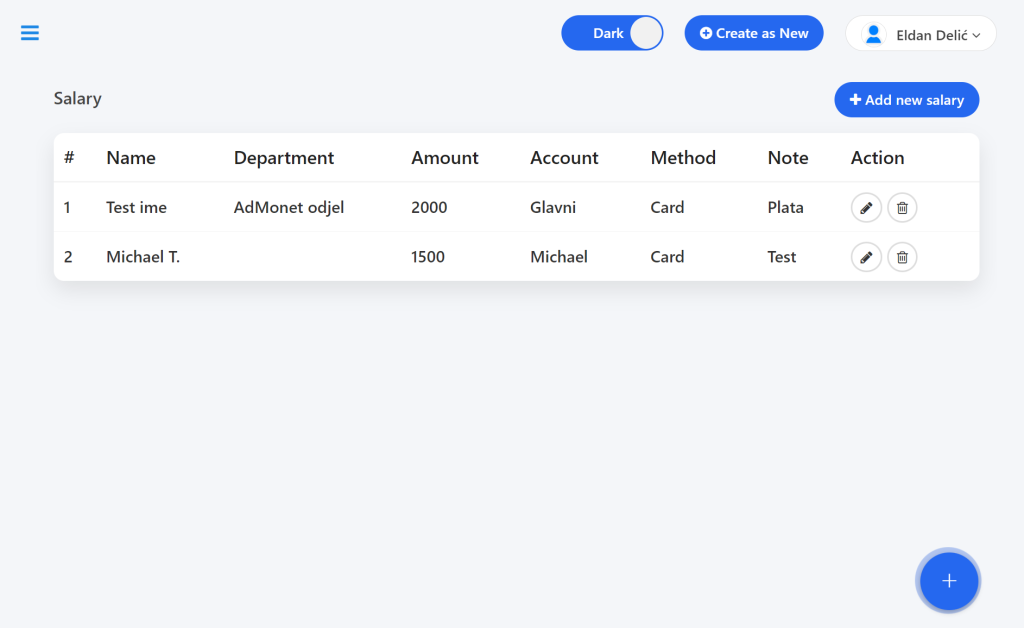
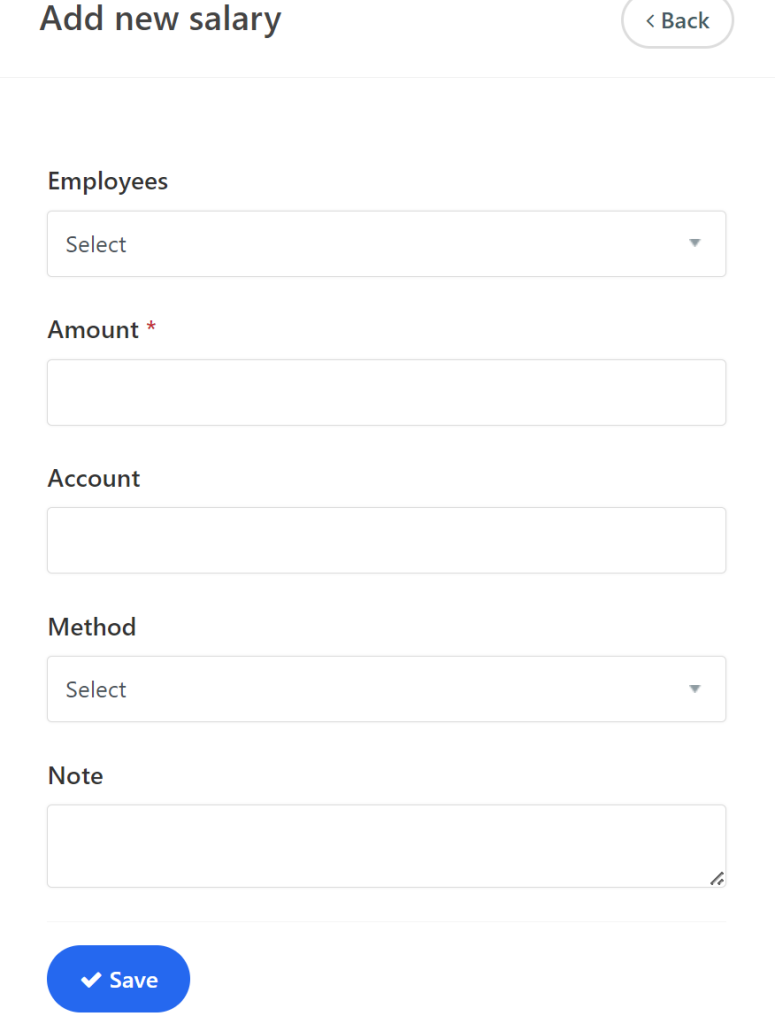
Adding Salary:
- Click on “Add New Salary”.
- Fill in the following details:
- Employee
- Amount
- Account
- Method
- Note *
- Click on “Save”.
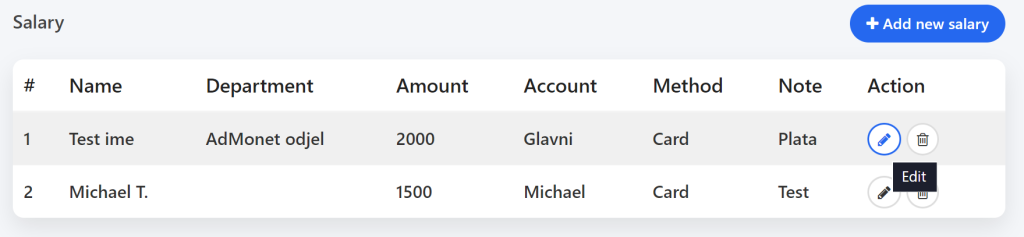
You can edit or delete salaries using the pencil icon for editing and the trash can icon for deleting.
These are the basic steps for efficient management of HRM functions.
For any additional questions, feel free to contact us via email at info@adbooks.co.